Using grout pens is one of the quickest ways to revive the look of tiles without a full renovation, but streaks can often get in the way of a flawless finish. Many people find that their grout lines end up uneven or patchy, turning what should be a simple refresh into a frustrating task. Fortunately, with a few adjustments and simple techniques, you can achieve clean, consistent results every time.
This guide will walk you through the most common mistakes that cause streaks with grout pens and the easy methods you can apply to avoid them. Whether you’re updating a bathroom, kitchen backsplash, or tiled floor, these tips will help ensure your grout looks smooth and professionally refreshed.
By understanding the problem areas and adopting the right application process, you’ll be able to extend the life of your grout pen work and enjoy brighter, cleaner-looking tiles that elevate the overall appearance of your space.
Common Mistakes That Cause Streaks With Grout Pens
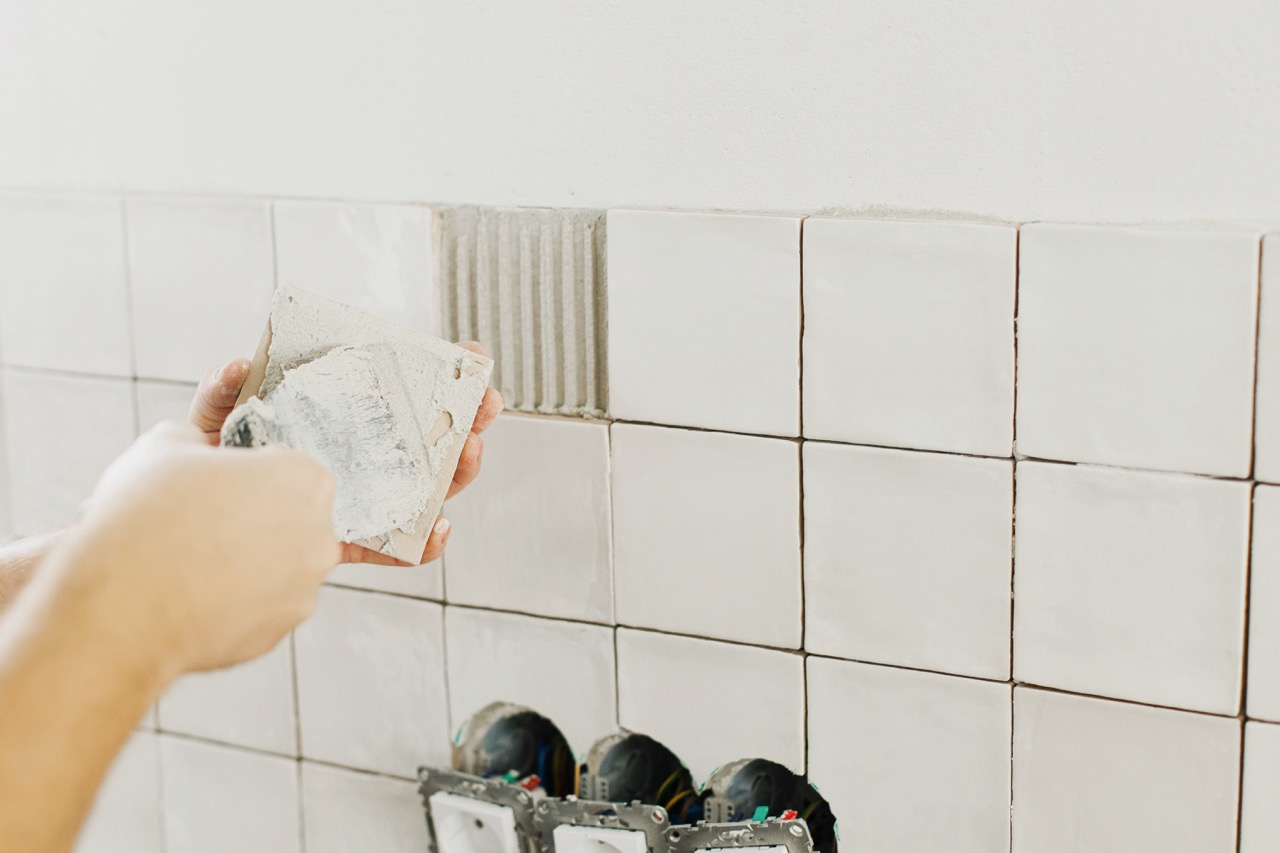
One of the most frequent mistakes is not cleaning the grout surface beforehand. Any leftover dust, soap scum, or grease can prevent the grout pen ink from adhering smoothly, which often results in patchy coverage and streaks. Without a clean surface, you may find yourself reapplying the pen multiple times, only to still end up with uneven lines.
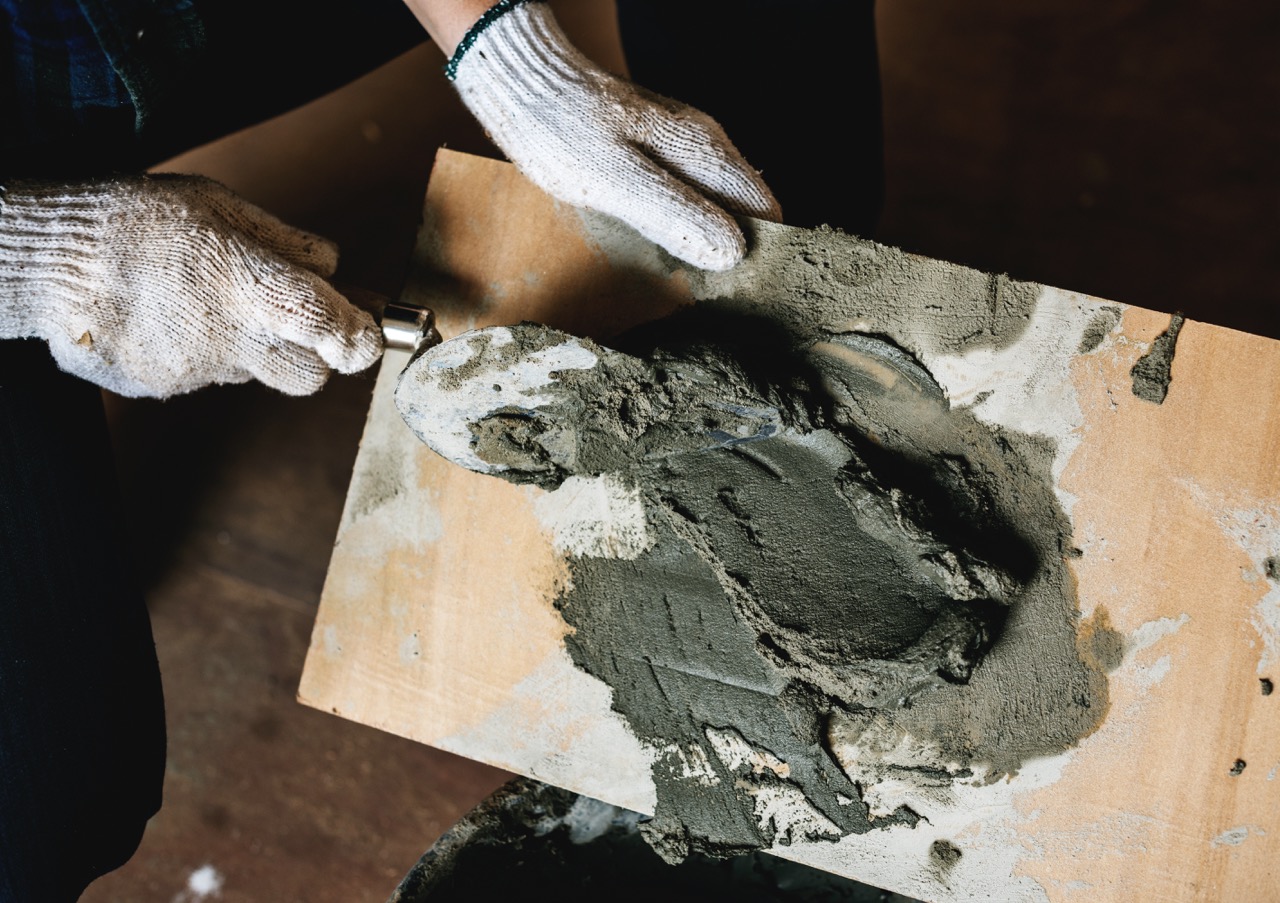
Another common error is rushing through the application. Many people try to cover a large area too quickly, dragging the tip of the pen without giving the ink enough time to settle into the grout pores. This often leaves you with uneven, streaky lines. Using too much pressure can also wear down the pen tip, creating inconsistent flow.
Finally, skipping the “test spot” step is easy to overlook but important. Applying a grout pen directly on all areas without testing may reveal streaks after it dries, especially if the grout absorbs unevenly. Taking a few minutes to try it on a small section can save you the frustration of having to redo large areas later.
Easy Techniques to Get Smooth, Even Grout Lines
The first step in avoiding streaks is thorough preparation. Before using the grout pen, scrub the grout lines with a gentle cleaner and allow them to dry completely. A dry, debris-free surface helps the ink glide on smoothly and prevents streaking caused by trapped dirt or moisture. Even a quick wipe-down with a cloth can make a big difference.
When applying the pen, work slowly in small sections rather than rushing through the entire surface. Light, consistent pressure will help the ink flow evenly without over-saturating the grout. If needed, make two light passes rather than one heavy stroke; this ensures better coverage while reducing the risk of obvious streaks.
Lastly, allow each section to dry before touching or reapplying. Some people immediately rework the grout lines if they notice unevenness, but this often smears the ink and creates streaks. Patience is key—once it’s dry, you can make a careful second pass for a polished, uniform result. Pairing this approach with a steady hand and a clean cloth for quick touch-ups will give your grout a refreshed, streak-free finish.
Achieving streak-free grout lines with a grout pen is less about complicated techniques and more about preparation, patience, and attention to detail. By avoiding common mistakes and applying simple, steady methods, you can transform dingy grout into crisp, clean lines that look freshly installed.
A little extra effort in cleaning, pacing yourself, and allowing proper drying time will drastically improve the outcome. These steps can save you both frustration and unnecessary reapplications along the way.
With the right approach, your grout pen project doesn’t have to feel daunting. Instead, it can be a quick and rewarding way to refresh your tiles and brighten your space, all while leaving streaks behind for good.