Updating your kitchen or bathroom doesn’t always require a full renovation. In fact, one of the simplest ways to instantly refresh your space is by giving tired, discolored grout lines a makeover. Mosaic tiles, with their intricate patterns, can lose their charm when grout becomes stained or dull over time. Thankfully, grout pens offer a quick, affordable, and mess-free solution. They’re beginner-friendly, require no special tools, and deliver transformative results in just minutes.
Why Grout Pens Are Perfect for Mosaic Tile Makeovers
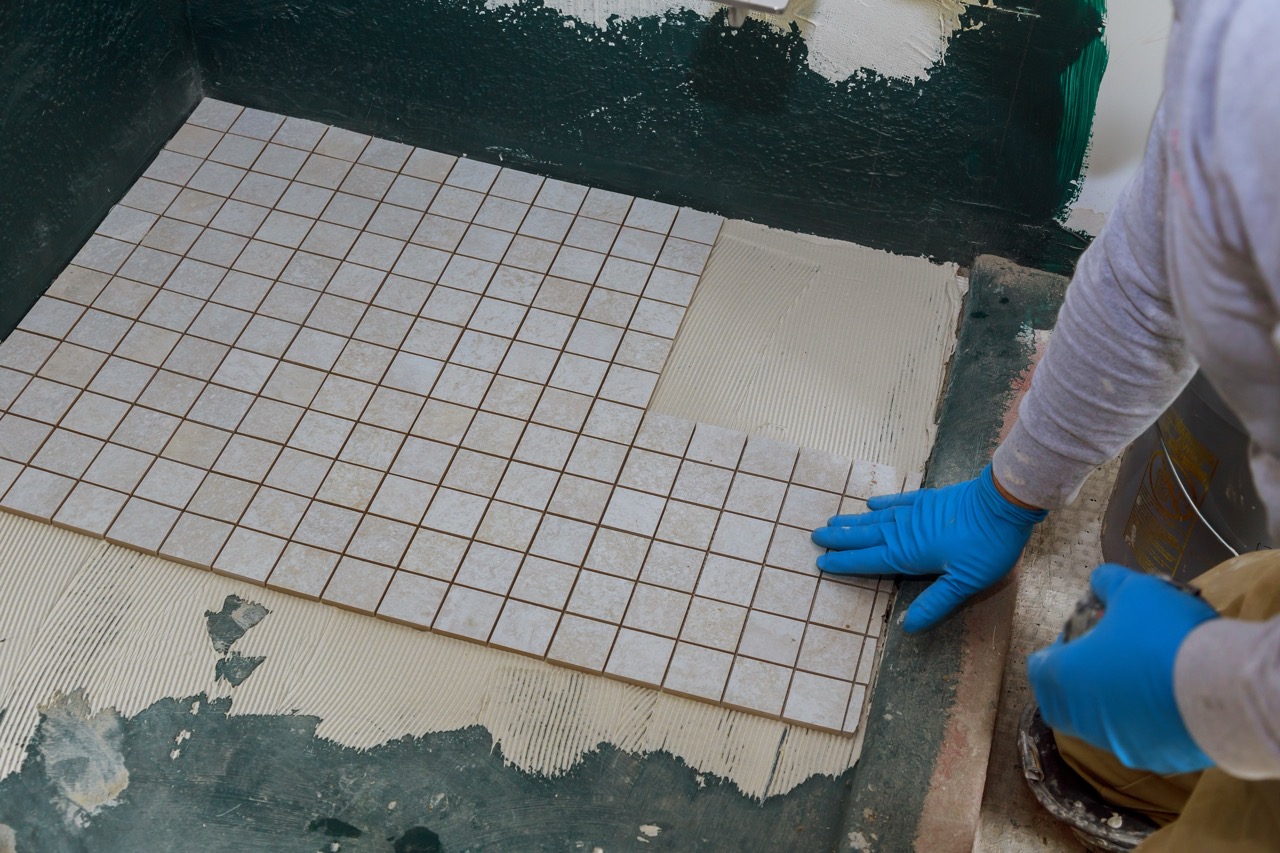
Mosaic tiles shine when their colors and patterns are enhanced by clean grout lines. Over time, however, grout often absorbs dirt, grease, and mildew, which makes even the most stunning mosaics look worn out. Fully replacing grout is a labor-intensive and costly project, but grout pens provide an efficient alternative. With just a few simple strokes, you can instantly brighten or recolor the lines surrounding your tiles.
The beauty of grout pens lies in their practicality. Designed with precision tips, they allow homeowners to neatly apply grout-colored ink without spilling onto tiles. This makes them perfect for the tight and intricate spaces around mosaic tiles where accuracy is key. Unlike messy grout replacement systems, grout pens dry quickly, produce consistent coverage, and can be used without any advanced DIY skills.
Another major benefit is their affordability and convenience. Instead of investing in professional cleaning or re-grouting services, a single pen can revive dozens of square feet of tiling. Whether you’re refreshing a bathroom backsplash or small mosaic accents in your kitchen, grout pens prove to be the go-to tool for fast, visible improvement.
Step-by-Step Guide to Using Grout Pens Correctly
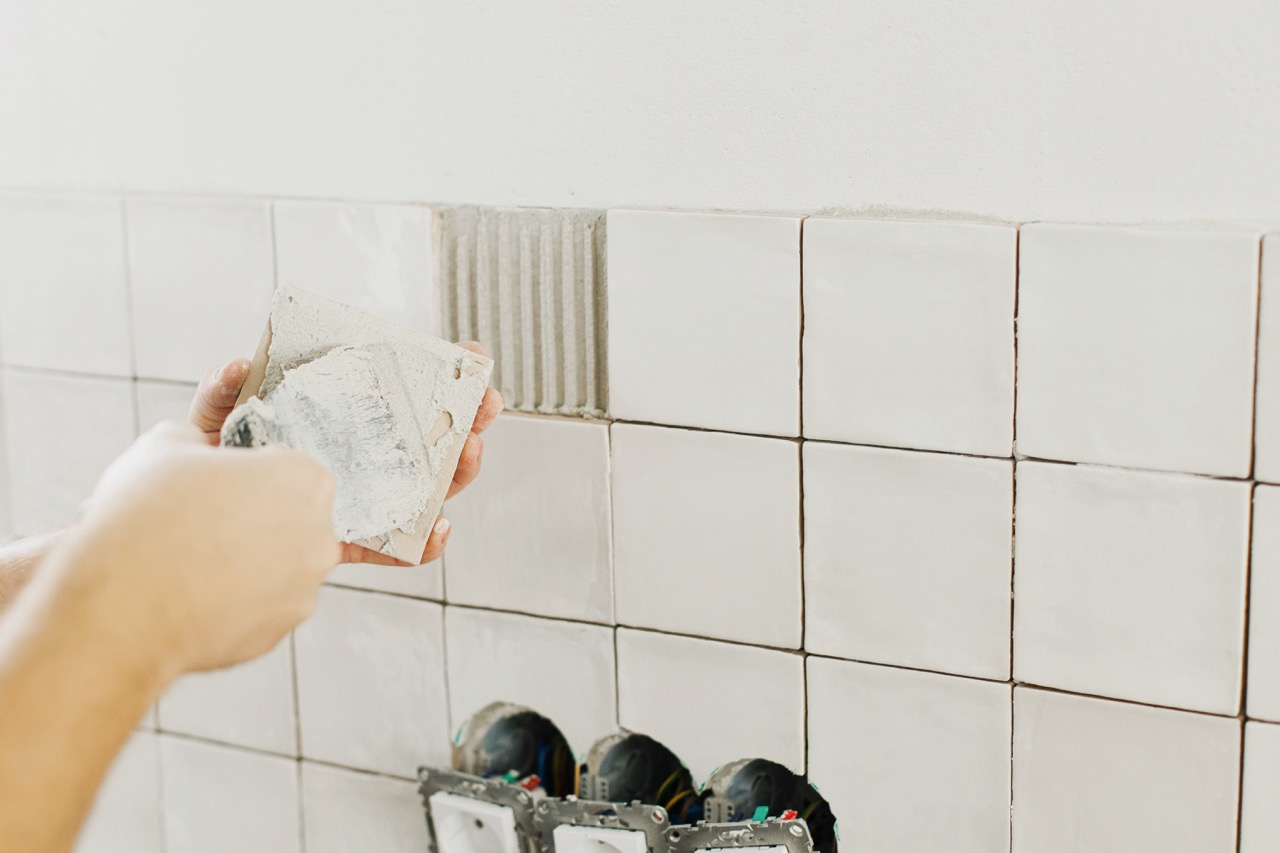
The first step to successful grout pen application is preparation. Start by cleaning the tiled surface thoroughly with a mild detergent or grout cleaner. Removing dirt, grease, and soap residue ensures the new grout color adheres properly and lasts longer. Once cleaned, allow the area to dry completely before using the pen.
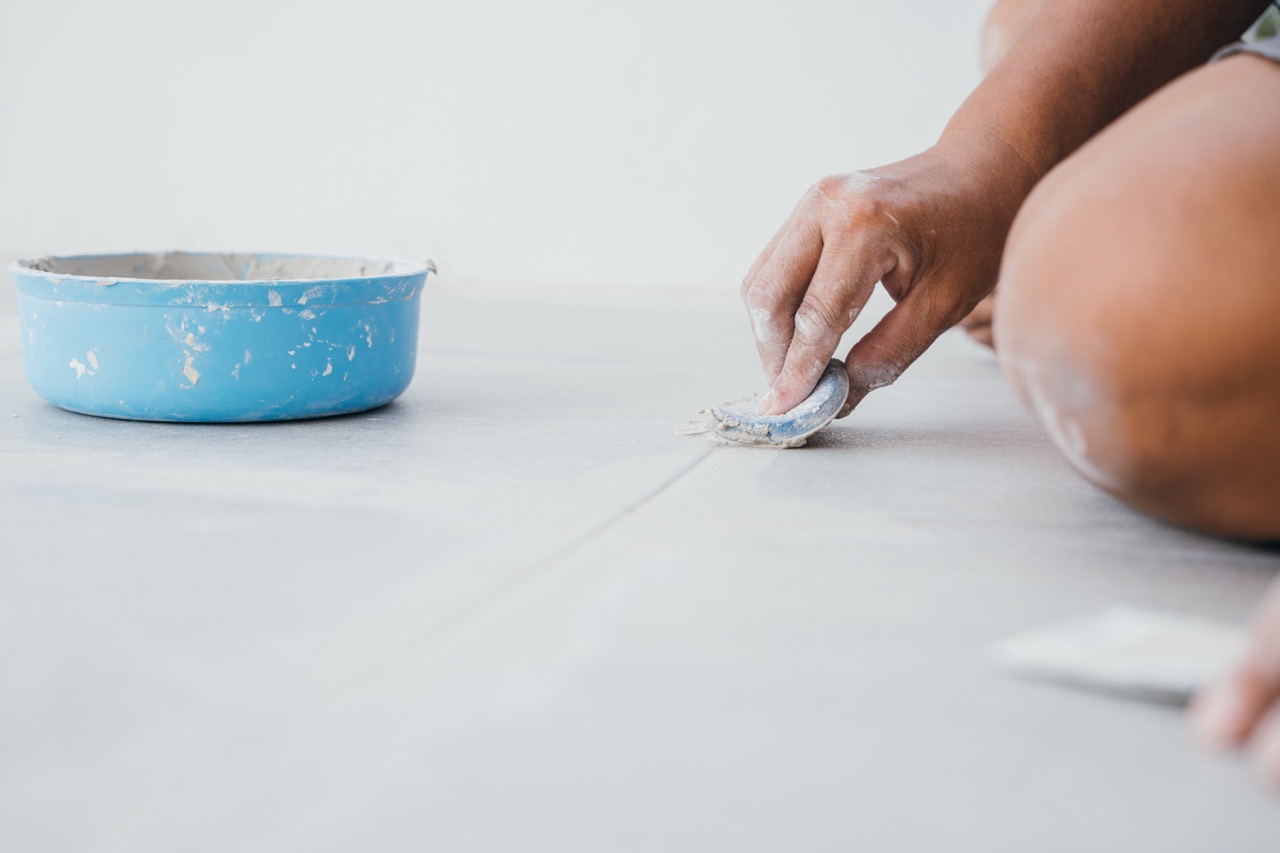
Next, shake the grout pen well and press its tip gently on a piece of scrap paper until the pigment begins to flow. Apply the pen by running it along the grout lines in smooth, steady strokes. Be patient—especially with mosaic designs where there are many small sections to cover. If you accidentally get color on the tile itself, simply wipe it away with a damp cloth before it sets.
Finally, let the grout dry as recommended by the manufacturer, usually within 30 minutes to a couple of hours. In some cases, a second coat may be necessary for deeper coverage. Once fully dry, your tiles will look dramatically refreshed, often like a brand-new installation. This simple process can be done over a free afternoon and requires no specialized tools or training.
Choosing the Best Grout Pen Color for Your Tiles
Picking the right grout pen color is a key decision that influences the overall style of your mosaic tiles. For a seamless, clean look, select a shade similar to your original grout to restore its brightness. White and light gray are popular choices that make tiled areas feel larger and more contemporary.
If you want to create a bold contrast, consider selecting a darker grout color. For example, black grout with light mosaic tiles helps highlight patterns, giving your walls or floors a striking, modern edge. This approach can dramatically change the appearance of your space without switching out the tiles themselves.
On the other hand, neutral tones like beige and warm gray work best for creating a softer, natural finish. These colors complement earthy tones in mosaic designs, making the space feel more harmonious. The versatility of grout pen shades allows you to experiment with different styles and find the perfect fit for your home’s personality.
Simple Tips to Keep Your Mosaic Tiles Looking New
Once your grout lines are refreshed, a little care goes a long way in maintaining their fresh appearance. Regular cleaning with a gentle, non-abrasive cleaner will help prevent dirt or mildew from seeping back into the grout. Avoid harsh chemicals, as they may break down the protective layer created by the grout pen pigments.
Another important tip is to control moisture, especially in bathrooms or kitchens where humidity is high. Using a good-quality sealer on your grout after applying the pen can create an added protective barrier. Proper ventilation, such as running an exhaust fan, also helps keep grout fresh and free from mold.
Lastly, don’t overlook quick touch-ups. Grout pens make maintenance easy—if you spot fading or wear in certain areas, you can simply reapply the pen without much effort. Keeping a backup grout pen in your cleaning toolkit ensures your mosaic tiles always look vibrant without expensive repairs or replacements.
Grout pens offer an easy, cost-effective, and beginner-friendly way to revive your mosaic tiles. They instantly brighten up grout lines, enhance tile patterns, and bring tired spaces back to life—all without major renovation costs. With the right color choice, careful application, and a few maintenance habits, your tiles can look fresh and stylish for years. Whether you’re a DIY novice or a seasoned renovator, grout pens are truly a secret weapon for making your mosaic tiles shine again.