When it comes to refreshing tiled walls or floors, grout pens can be one of the simplest tools to achieve a cleaner, newer look without pulling out grout and starting from scratch. But one detail that many people overlook is the size of the pen tip itself. The right tip size can make a huge difference in how neat, even, and professional your grout lines appear. Choosing correctly isn’t just about preference—it’s about getting the best finish for the type of tiling you’re working with.
Why Grout Pen Tip Size Matters for Clean Lines
The size of your grout pen tip determines how easily you can stay within the grout lines without spilling over onto the tile surface. Smaller tips are perfect for narrow or thin grout lines because they allow more precision and control. On the other hand, if you use a pen tip that’s too wide for your grout lines, you may end up with smudges on the tiles that need constant wiping away.
Another important factor is efficiency. With larger grout lines, using a pen with a tiny tip can be time-consuming since it requires more strokes to fully cover the area. Choosing a broader tip for wider grout lines ensures more coverage per pass and saves time, while still providing a neat finish. Essentially, matching the tip size with your grout line width balances precision with speed.
Correct tip sizing also helps ensure consistent application of the grout color. Using the wrong size can cause uneven lines, thicker applications in some areas, and thinner strokes in others. This can result in a patchy look that undermines the goal of refreshing your tiles. By choosing the right tip size from the start, you reduce mistakes, minimize cleanup, and achieve a more seamless renovation.
Tips for Selecting the Best Tip Size for Your Project
The first step in choosing the correct grout pen tip size is to measure the width of your grout lines. A simple way is to use a small ruler or gauge to check whether the grout is narrow, medium, or wide. Once you know the measurement, you can match it to the pen’s specifications, which often indicate the recommended application width. This ensures you’re working with a tip that naturally fits the lines you want to restore.
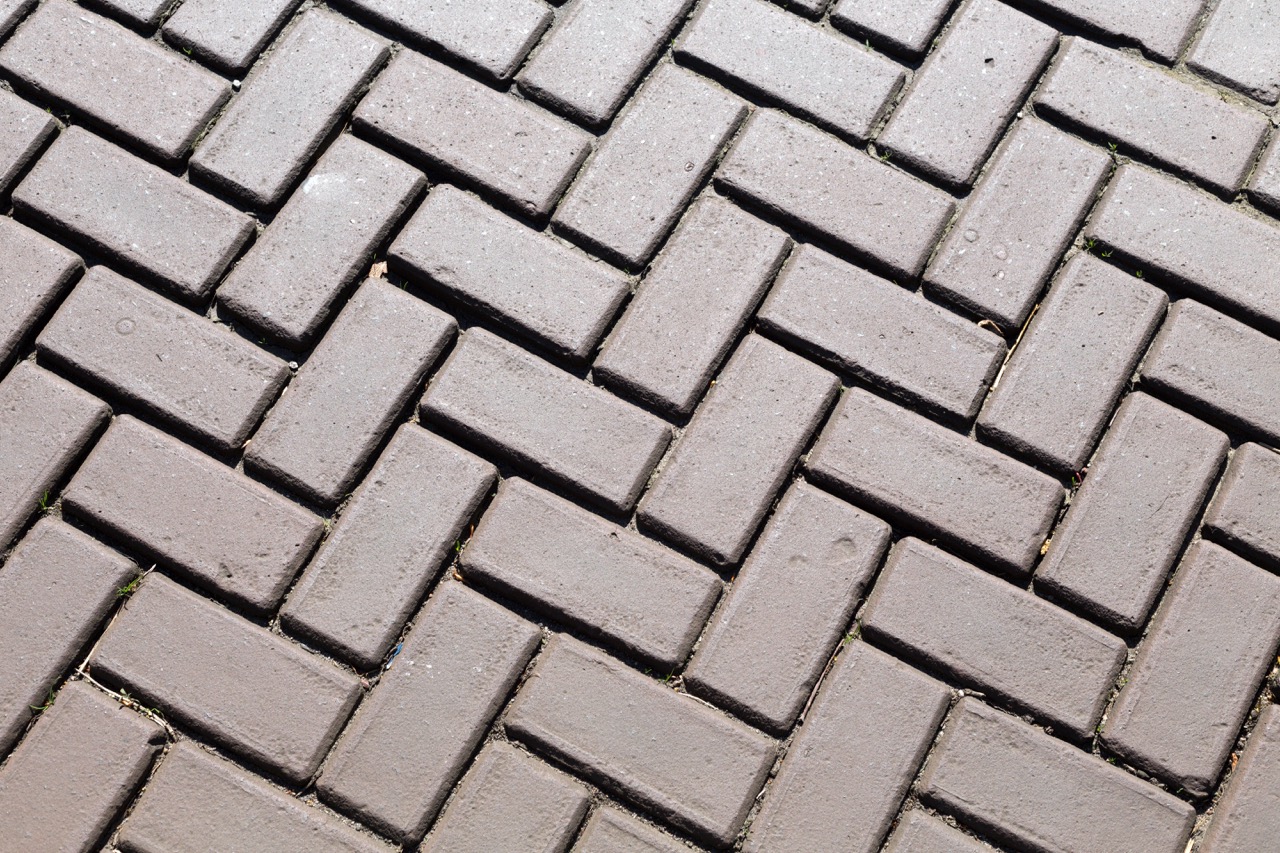
Secondly, think about the surface you’re covering. Kitchen backsplashes and bathroom walls often use tiles with narrower grout lines, which benefit from fine tips around 2 to 3 mm. In contrast, floor tiles, especially in larger formats, often have wider grout lines that call for thicker pen tips around 5 to 8 mm. Matching the tip size to the space not only helps with accuracy but also prevents the frustration of constant touch-ups.
Finally, consider your comfort and control. Beginners may find finer tips easier to handle since they mimic a regular writing pen and give more control in tight spots. More experienced users, or those working on larger surfaces, may prefer broader tips for efficiency. Testing a pen on a small section of grout before starting the full project can help you confirm that the size feels right and delivers the finish you want.
Choosing the right grout pen tip size can seem like a small decision, but it’s key to getting crisp, clean results. By carefully matching the tip size to the width of your grout lines, you’ll avoid unnecessary smudging, save time, and create a more professional finish. Whether you’re touching up a backsplash or rejuvenating a tiled floor, the right pen tip makes the process smoother and the outcome far more satisfying. With a little preparation, you can transform tired grout lines into fresh, polished highlights of your tiled space.