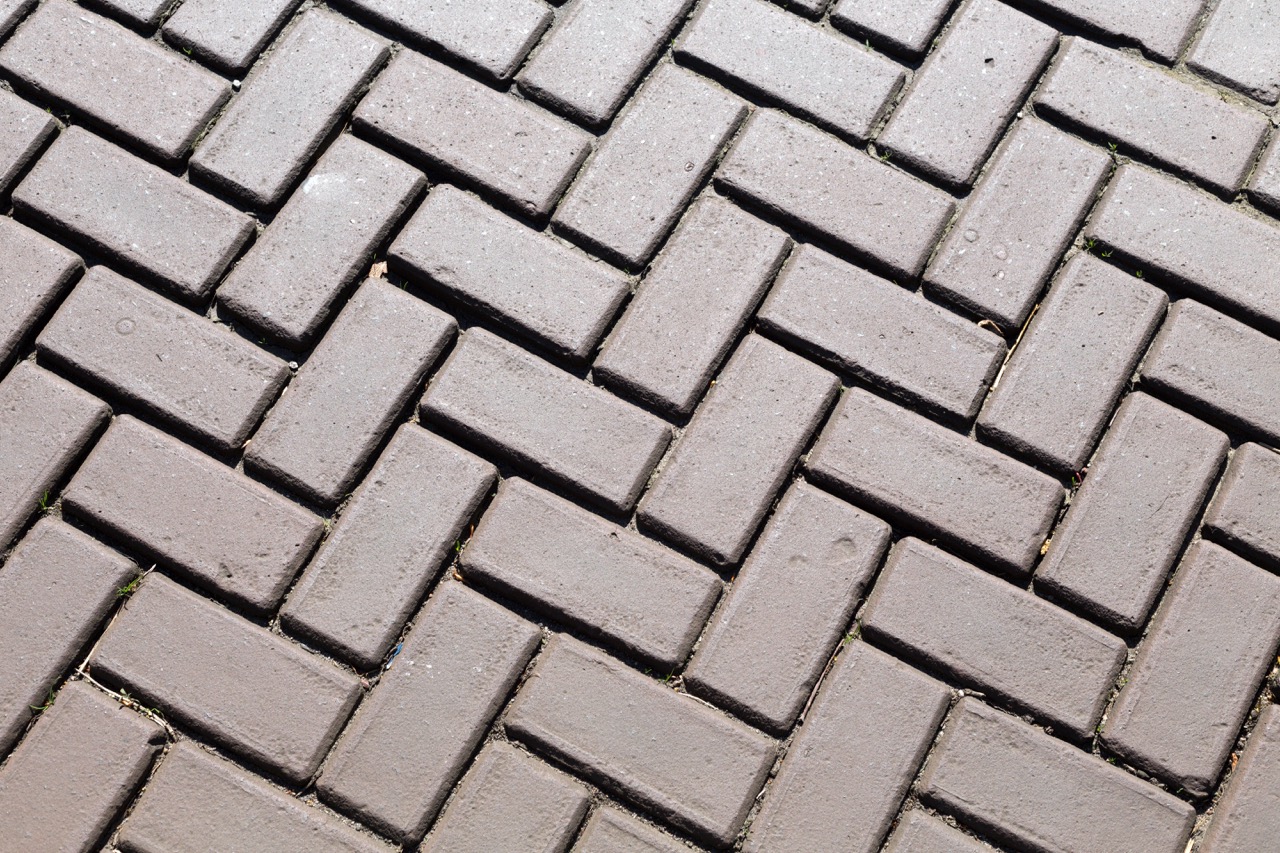
Keeping your tiles looking fresh can feel like a big task, especially when grime and discoloration start showing up in the grout lines. While full regrouting or tile replacement can be time-consuming (and expensive), grout pens offer a quick, affordable, and surprisingly effective way to give your tiled spaces an instant refresh. Whether you’re a homeowner planning a weekend project, a renter needing a temporary fix, or a DIYer who wants results without major renovations, grout pens can provide an easy solution.
Why Grout Pens Are the Go-To Quick Tile Fix
Grout pens have become a go-to option for homeowners and DIY enthusiasts because they deliver fast results with very little hassle. Instead of spending hours scrubbing with harsh chemicals or digging out old grout, you can cover stains and discoloration in minutes. The paint-like formula in grout pens serves as a surface-level refresher, bringing dull grout lines back to life without the mess of mixing powders or adhesives.
What makes grout pens especially appealing is their ability to provide a "like-new" finish with little effort. For busy families or renters who don’t want to invest in major repairs, the convenience of simply drawing over existing grout makes them an attractive option. They give tiled walls, kitchen backsplashes, and bathroom floors a cleaner appearance almost instantly, which can also help boost the overall look of your space.
It’s important to note that grout pens are a cosmetic fix, not a permanent replacement for proper regrouting when grout is seriously damaged. Rather than repairing structural issues, they cover staining and give the illusion of freshly installed grout. For anyone looking to quickly elevate their space for a special occasion, apartment inspection, or just personal satisfaction, grout pens are an excellent short-term solution.
Simple Steps to Refresh Tile Without Regrouting
The process of refreshing tile grout with a pen is straightforward, making it a perfect entry-level project for beginners. The first step is to clean the grout lines thoroughly. Dirt, soap scum, or grease can prevent the color from adhering properly. A quick scrub with a mild cleaning solution and a stiff brush should do the trick, followed by allowing the grout to dry completely.
Once the grout lines are clean and dry, you can start applying the pen directly to the lines. The nib of the pen is designed to trace over grout, depositing a consistent layer of color along the way. For best coverage, apply the color evenly and use slow, steady strokes. If the nib gets clogged with debris, simply wipe it off to maintain smooth application.
After covering your grout lines, allow the color to dry as directed on the product label. Some grout pens are waterproof once cured, making them especially suitable for areas like bathrooms or kitchens. In just a few hours, your tiles can look dramatically refreshed—without messy buckets, grout removal tools, or professional help.
Choosing the Right Grout Pen for Your Project
Not all grout pens are the same, so choosing the right one ensures the best results. The two main features to consider are color and tip size. Grout pens come in different shades, from bright white to gray and even darker tones, giving you flexibility to match your current grout or change its appearance entirely. A small-tipped pen is helpful for detailed work on narrow grout lines, while a broader tip is more efficient for larger floor tiles.
Durability is another key factor. Some pens use water-resistant ink that holds up well against moisture, which is ideal for kitchens and bathrooms. Others may be better suited for low-moisture areas like hallways or laundry rooms. Checking product reviews and descriptions can help you determine which type fits your project needs.
Finally, think about coverage. Most grout pens specify how many linear feet one pen can cover, which helps you decide how many to purchase. Running out mid-project can be frustrating, so it’s always wise to buy an extra pen or two. By matching the right shade, finish, and durability level, you’ll achieve a more consistent and satisfying outcome.
Tips to Make Your Tile Touch-Up Last Longer
While grout pens are intended as a temporary solution, there are ways to extend their effectiveness. One of the simplest tips is to seal over the recolored grout once the pen has fully dried. A grout sealer can help protect against future stains and moisture, keeping the fresh look intact for a longer period.
Routine cleaning also makes a big difference. Instead of using harsh bleach or abrasive scrubbing pads, stick to mild cleaners that won’t strip away the applied color. Regular light cleaning helps prevent buildup, ensuring your grout lines stay bright and clean for weeks or even months.
It also helps to apply the pen in multiple light coats rather than a single heavy layer. This allows better adhesion and reduces the chance of flaking or peeling. When maintained with proper care and protective sealing, a grout pen touch-up can last far longer than expected, making them an even more worthwhile DIY solution.
Grout pens may not replace a full-scale renovation, but they are an excellent tool for quick, budget-friendly makeovers. With minimal effort and cost, you can transform tired grout lines into a fresh, clean finish that instantly improves the look of your home. Whether you’re sprucing up for guests, preparing a rental property, or simply wanting to enjoy a cleaner environment, grout pens are a practical fix that anyone can use. For short-term solutions with long-lasting visual impact, they truly are one of the handiest tools in the DIY toolbox.