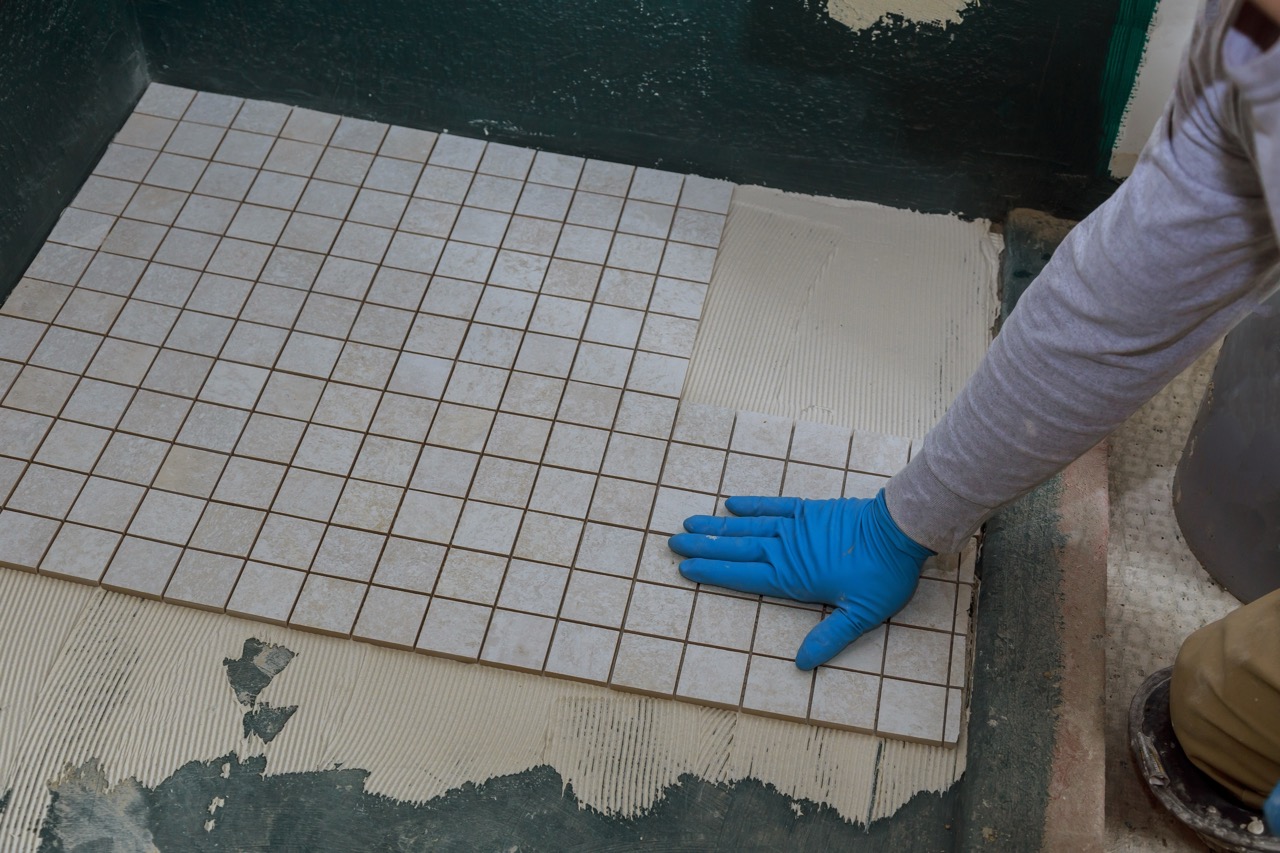
Keeping subway tiles looking clean and fresh can transform the feel of a kitchen or bathroom. But over time, grout lines often become discolored, dingy, or stained, making even the most stylish tiles look tired. Instead of retiling or attempting a messy regrouting project, there’s a simple and affordable solution—grout pens. These handy tools let you quickly refresh grout lines, restore brightness, and give your space an instant facelift without the hassle of major renovations.
Why Grout Pens Are the Easiest Tile Refresh Hack
Grout pens are essentially markers filled with a specialized grout colorant, designed to coat existing grout and improve its appearance. Unlike regrouting, which can involve chiseling, scraping, and days of work, grout pens require only a steady hand and a little patience. Within minutes, grout lines that once looked grimy can appear brand new. This makes them one of the most accessible DIY solutions for anyone wanting to revamp their tiles in a single afternoon.
Another advantage is cost-effectiveness. Regrouting or hiring a professional can quickly add up, especially in larger tiled areas. A grout pen, however, typically costs only a few dollars and can cover several square feet of grout. For renters or budget-conscious homeowners, this is a game-changer—allowing you to upgrade a space without breaking the bank.
On top of affordability and ease, grout pens are incredibly versatile. They come in a variety of colors, allowing you to stick with a clean, classic white or experiment with darker shades for a bold, modern contrast. This flexibility means you can completely reshape the aesthetic of your subway tiles without changing the tiles themselves—simply by refreshing or altering the grout color.
Choosing the Right Grout Pen for Your Subway Tiles
When selecting a grout pen, the first factor to consider is color. For those who want a timeless, crisp look, white is the most popular choice, especially against traditional glossy subway tiles. But if you’re aiming for a more contemporary style, gray, charcoal, or even contrasting tones can add dramatic depth. Choosing a color that complements your tile and overall décor will help you achieve maximum impact with minimal effort.
The type of formulation is also important. Some grout pens are water-based, making them kinder to indoor air quality and easy to clean up, while others use more durable, oil-based solutions for longer-lasting results. If your tiles are in a high-moisture area, like a bathroom or kitchen backsplash, a pen with waterproof or mold-resistant properties is worth the investment. Always check the packaging for details about durability and coverage.
Finally, don’t overlook pen tip size. A fine-tipped pen gives you precision and works best for narrow grout lines commonly found with subway tiles. A broader tip, on the other hand, speeds up work in larger tiled areas. If you aren’t sure, starting with a medium tip can give you flexibility as you perfect your technique. The right pen not only ensures easy application but also guarantees a cleaner, sharper finish.
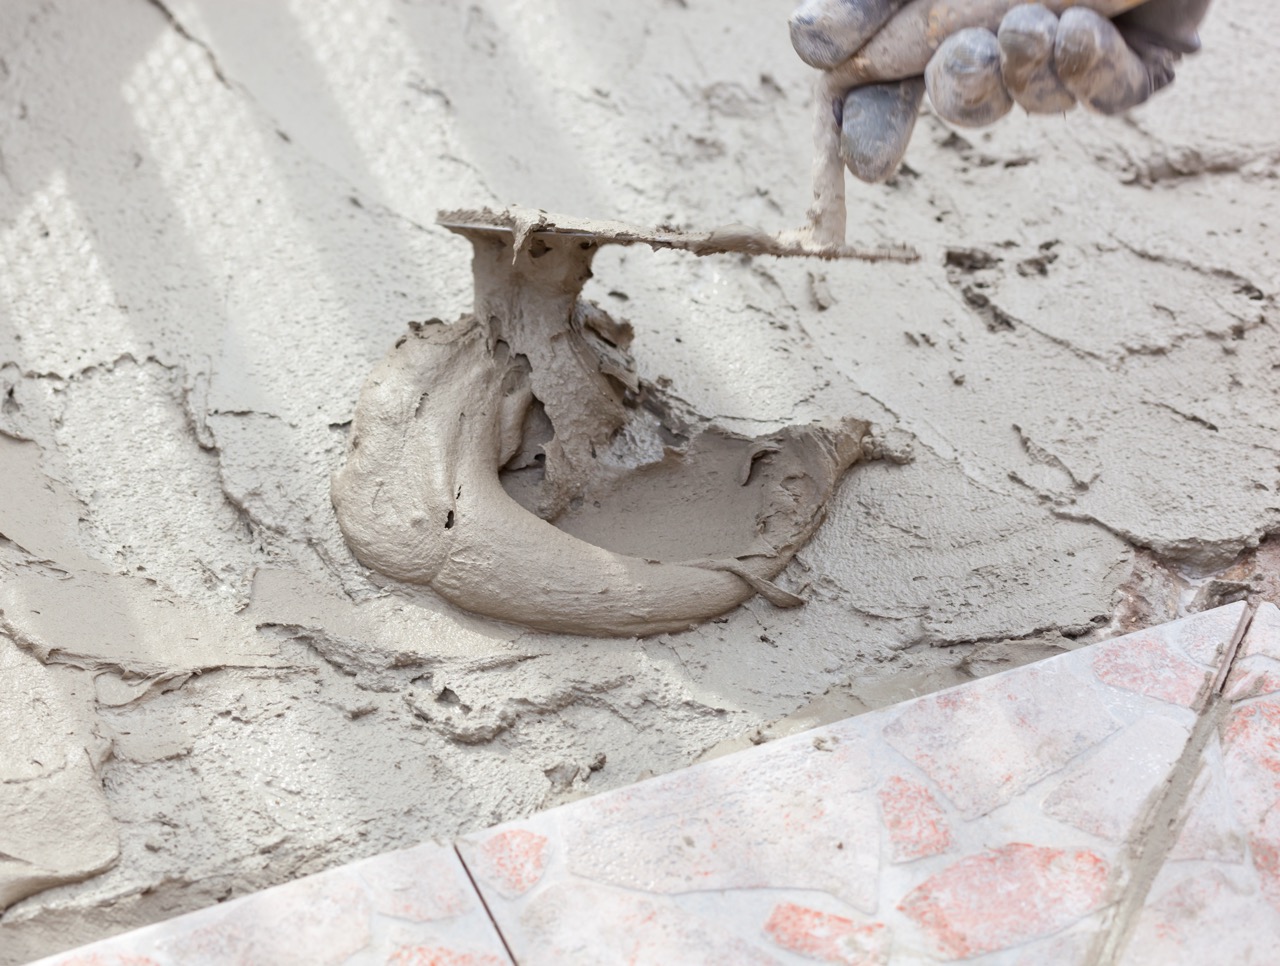
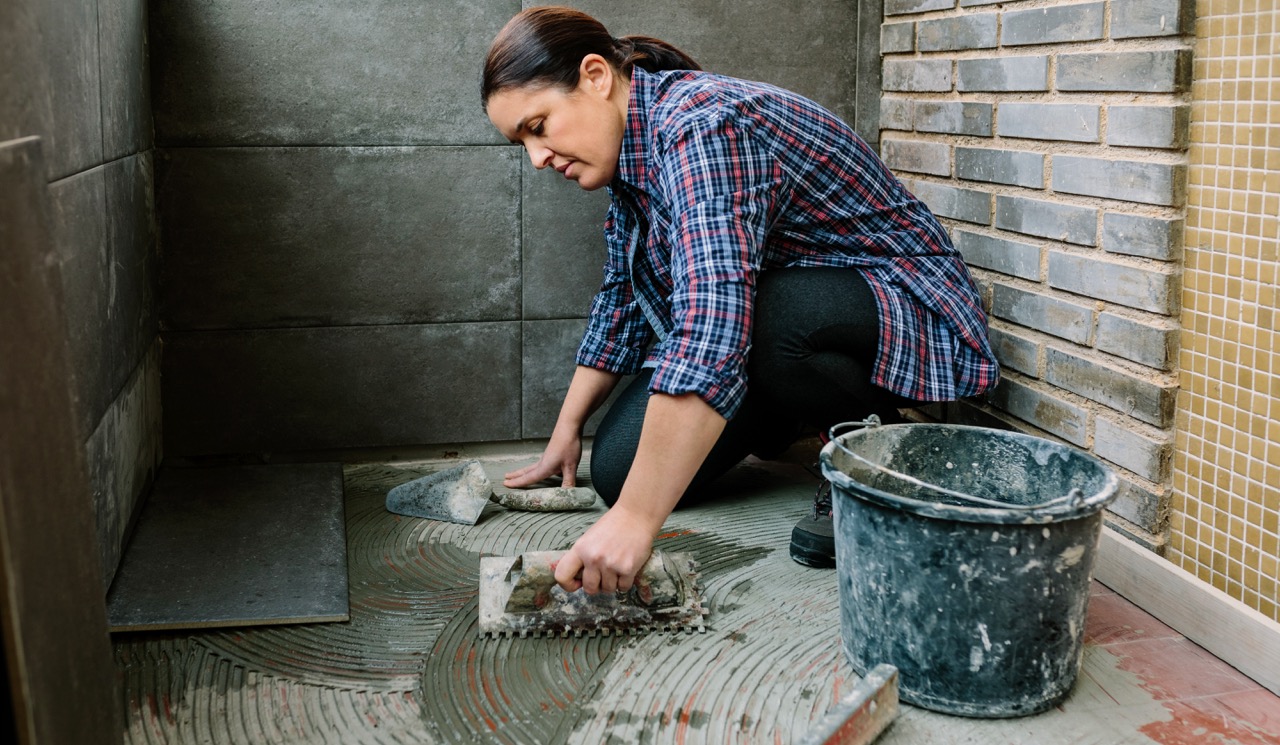
Step-by-Step Guide to Applying Grout Pens Like a Pro
The first step in applying grout pens is preparation. Clean your subway tiles thoroughly with a gentle tile cleaner or a mixture of vinegar and water to remove grease, soap scum, or dirt. Allow the grout to dry completely before beginning, as moisture can prevent the pen’s formula from adhering properly. Taking the time to prep ensures your fresh grout lines last longer and look sharper.
Next, shake the grout pen well and press the tip several times until the color begins to flow. Apply the pen directly to the grout lines, moving slowly to avoid overlap onto the tiles. If you accidentally stray onto the tile surface, simply wipe it off with a damp cloth before it dries. It’s a good idea to work in small sections, allowing you to stay precise and maintain a consistent look.
Once the first coat is dry, assess whether a second coat is necessary for even coverage. Some darker stains or old grout colors may need two passes with the pen for a flawless finish. After the application, let the grout dry as instructed by the manufacturer before exposing it to water or regular cleaning. With these simple steps, even beginners can achieve a professional-looking update.
Long-Lasting Tips to Keep Your Tile Lines Looking New
To get the most from your refreshed grout lines, regular maintenance is key. Start by wiping down your tiles weekly to prevent grime buildup—this helps preserve the crisp look of the grout pen work. A soft sponge and gentle cleanser are usually all that’s needed, avoiding harsh chemicals that could strip the pen’s coating.
In bathrooms and kitchens, moisture is the biggest culprit when it comes to grout discoloration. Using good ventilation, such as running an exhaust fan or leaving a window open, helps reduce mold and mildew. You can also apply a grout sealant over the pen once it has fully dried, adding an extra layer of protection to prolong the life of your touch-up.
If touch-ups are needed over time, don’t worry. Grout pens make it easy to refresh lines whenever slight discoloration reappears. Unlike full regrouting, this maintenance is quick and requires minimal effort. Keeping a pen in your home improvement toolkit ensures your subway tile walls always look neat, clean, and freshly installed.
Refreshing subway tiles doesn’t have to mean costly renovations or time-consuming grout removal. With grout pens, you can restore brightness, experiment with style, and achieve a polished look in just a few hours. Perfect for both homeowners and renters, this easy DIY hack is an affordable way to keep your subway tiles looking their best—proving that sometimes, the smallest updates make the biggest difference.