Matching grout pen color to existing grout can feel like a small detail, but it makes a huge difference in the final look of your tiled space. Choosing the wrong shade can cause the grout lines to stand out in an unintended way, while the right match blends effortlessly, giving tiles a fresh, clean finish. Fortunately, with a little preparation and some simple strategies, you can find the perfect shade for a seamless touch-up.
Simple Ways to Choose the Right Grout Pen Shade
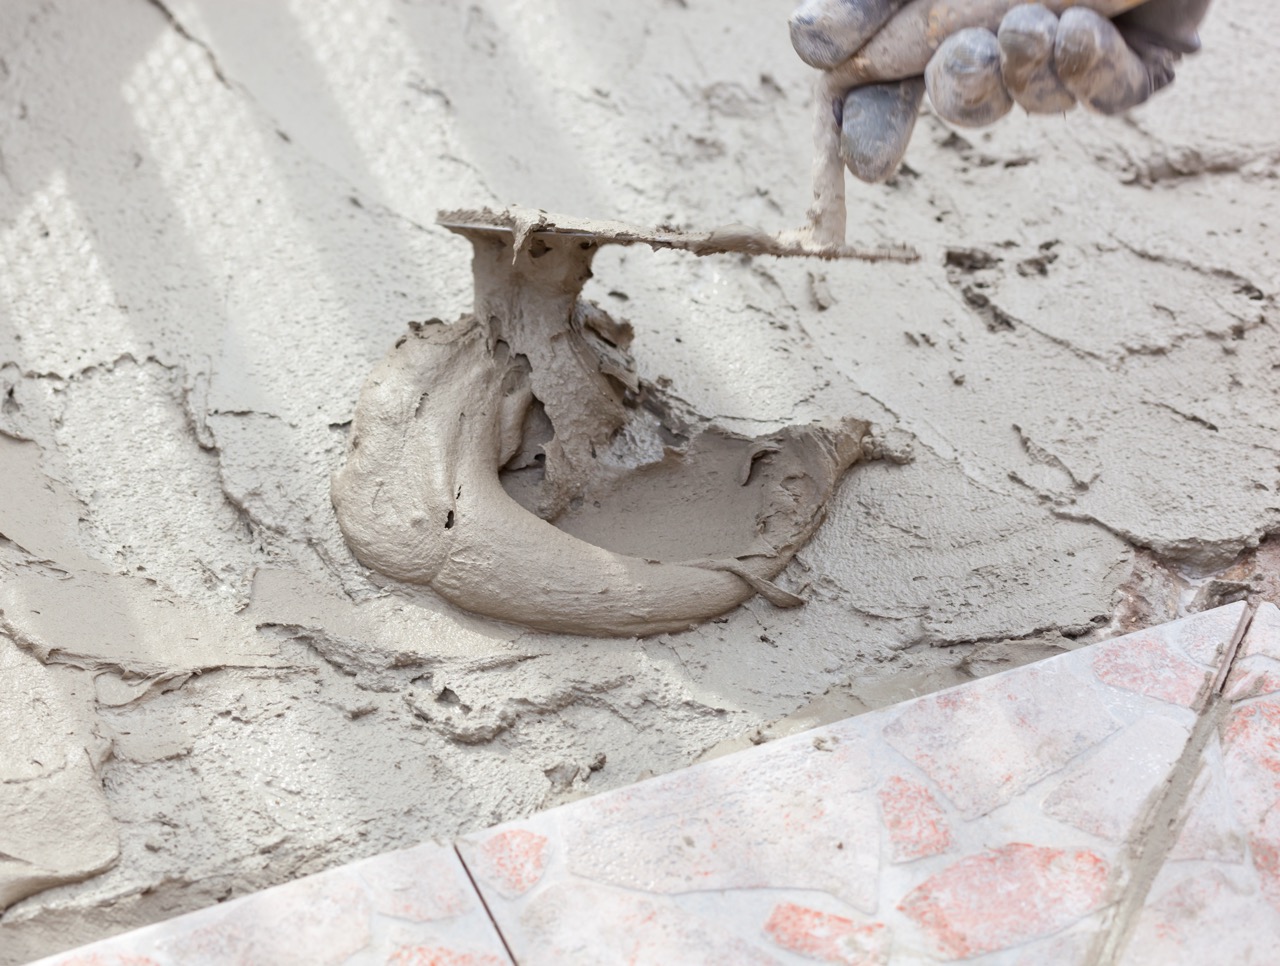
The first step in choosing a grout pen is to identify the actual color of your grout. Grout tends to darken over time due to dirt, moisture, and natural aging, so it may not resemble its original color anymore. A good idea is to clean a small section of grout thoroughly before comparing shades, as this will give you a more accurate reference point for selecting your pen.
When picking a grout pen shade, consider starting with a neutral tone. Colors like light gray, beige, or off-white tend to blend well with a wide range of existing grout shades. If your grout looks dark, try leaning toward a deeper pen color rather than going too light, as darker shades tend to hide minor inconsistencies better. This small adjustment can help ensure that your touch-up looks intentional rather than mismatched.
Sampling before committing to a full application is always a smart move. Many grout pen brands offer shade ranges, and sometimes you can purchase a couple of close options to test. Apply a small amount of each pen in an inconspicuous area, let it dry completely, and then compare in natural light. This simple testing step helps avoid surprises and ensures your chosen shade blends seamlessly once applied across the entire surface.
How to Ensure a Seamless Match with Existing Grout
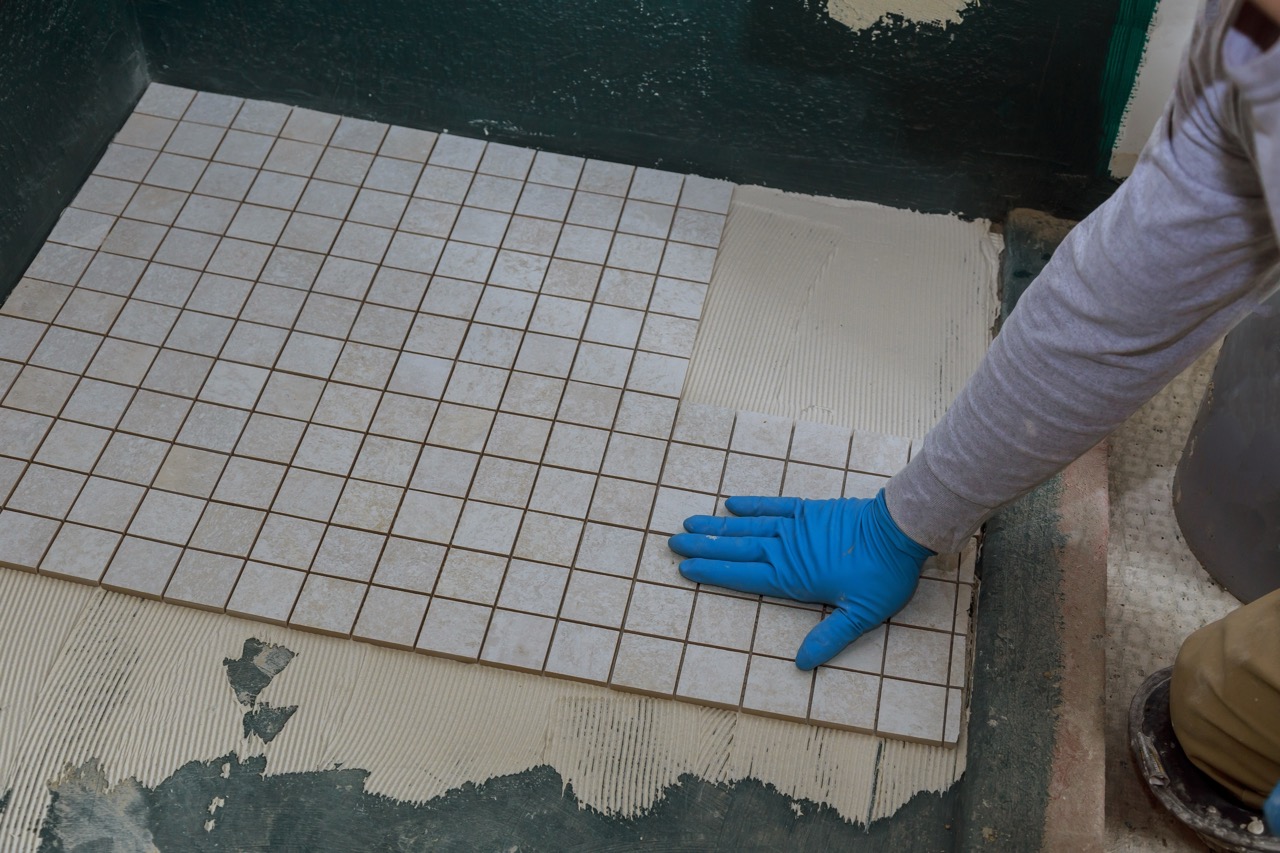
Once you’ve chosen a grout pen, preparation is key to ensuring a flawless finish. Clean the grout lines thoroughly to remove any dirt, mold, or soap residue, as these can cause uneven coloring when the pen is applied. A clean surface also allows the pen’s pigment to adhere properly, making the final color more consistent and natural.
Lighting plays a surprisingly important role in evaluating your grout color match. Just like with paint, grout color can look different under various lighting conditions. Always check your test area in both natural daylight and artificial indoor lighting before finalizing your shade. This extra step ensures your grout looks cohesive throughout the day and avoids any unwanted contrasts.
Finally, technique matters. Apply the grout pen evenly along the grout lines, working in small sections so your hand stays steady and the coverage remains uniform. If the shade still appears slightly different after drying, a second layer can help even out the tone. Blending carefully and applying patiently will help your grout lines look refreshed while still matching your existing design.
Matching a grout pen to your existing grout doesn’t have to be overwhelming when you take the right approach. Cleaning and testing before choosing your shade helps you make informed decisions, while careful application ensures a smooth, natural finish. With a little preparation and attention to detail, you can refresh your tiled surfaces so they look consistent and polished—without the expense of regrouting.