If the kitchen is the heart of the home, then the backsplash is one of its most noticeable features. Over time, though, grout lines can become stained, dull, or uneven in color, making even the cleanest kitchen look a little tired. The good news? You don’t need to fully re-grout or hire a professional to fix it. Grout pens are a surprisingly simple, budget-friendly solution that can transform your backsplash in just a few hours. Whether you’re a beginner at DIY or a seasoned renovation enthusiast, grout pens can help refresh your tiles and give your kitchen new life.
Why Grout Pens Are Perfect for Kitchen Backsplashes
When it comes to updating tiled surfaces, grout pens offer an easy win. They’re inexpensive, come in a variety of colors, and allow you to rejuvenate grout lines without the mess of scraping or replacing. For homeowners and renters alike, grout pens are especially appealing because they don’t require permanent changes—you can always touch up or reapply them as needed.
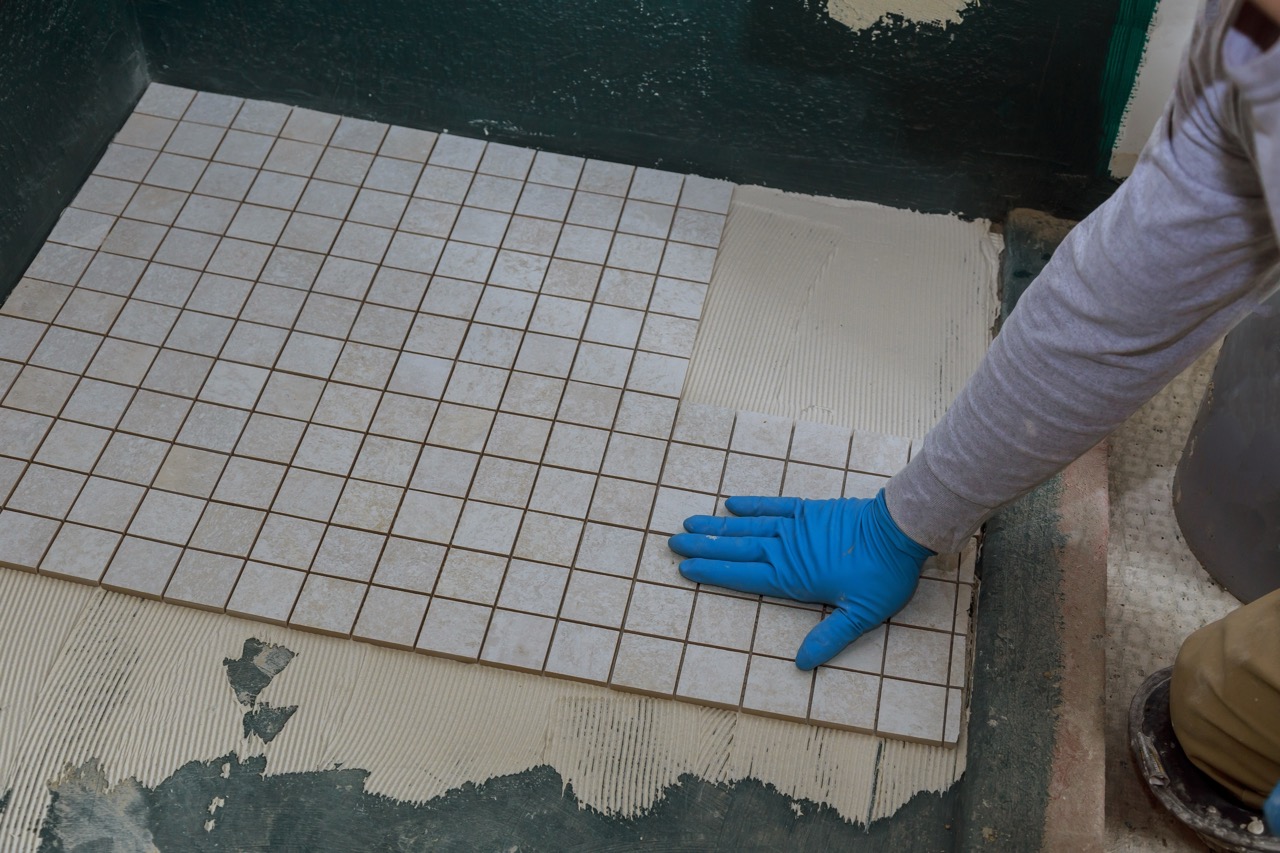
Another reason grout pens are perfect for kitchen backsplashes is that they work well on vertical tile surfaces where staining is common from cooking splatters, steam, and day-to-day use. Unlike re-grouting, which can be time-consuming and disruptive, grout pens are quick to use and dry fast, letting you refresh your backsplash in a single evening.
Finally, grout pens not only improve appearance but also provide a protective seal that helps your grout resist future staining. That means your backsplash isn’t just looking better on day one—it’s set up to stay cleaner and brighter over time. For anyone looking for a practical DIY solution, grout pens hit the sweet spot between easy, affordable, and effective.
Preparing Your Tiles and Grout Before You Begin
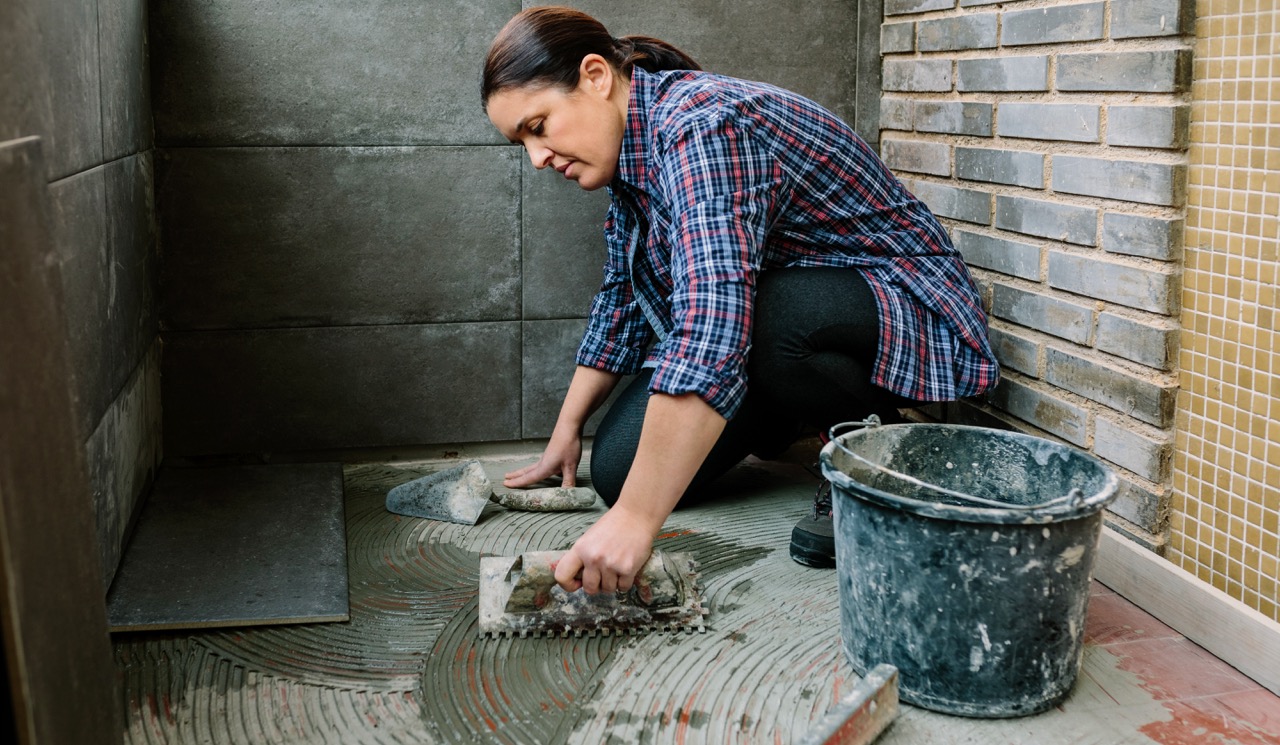
Preparation is the key to a neat, professional-looking finish. Before using a grout pen, it’s important to clean your backsplash thoroughly. Grease and dirt tend to cling to grout lines in kitchens, so start by using a mild degreasing cleaner or a mixture of baking soda and water. A stiff-bristled brush can help remove stubborn buildup and ensure the grout pen adheres properly.
Once your grout is clean, allow the area to dry completely. Applying a grout pen over damp grout can cause uneven results and reduce the longevity of the finish. Depending on your kitchen’s humidity, this could take a few hours, so plan ahead to give drying enough time.
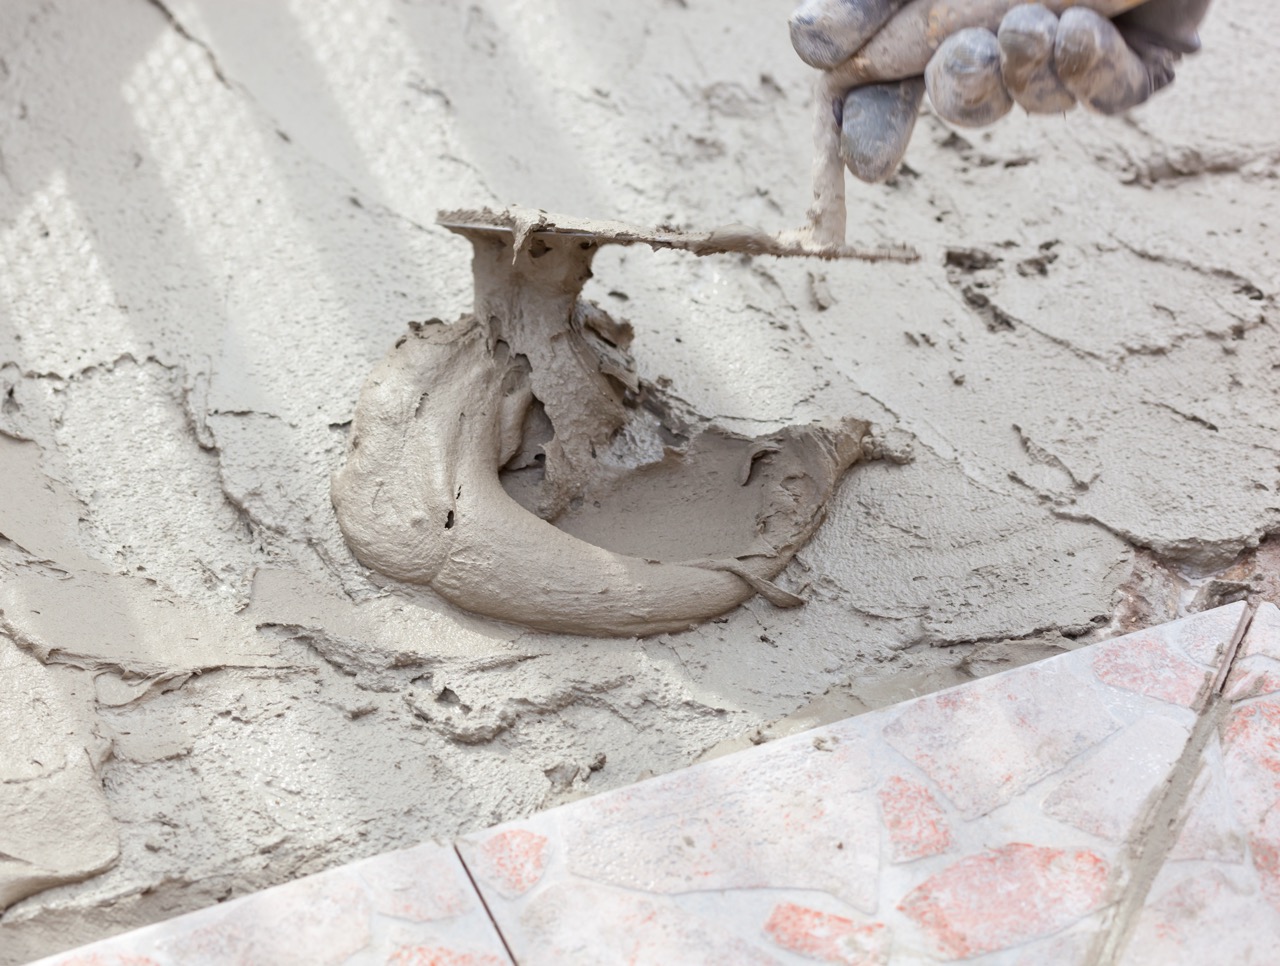
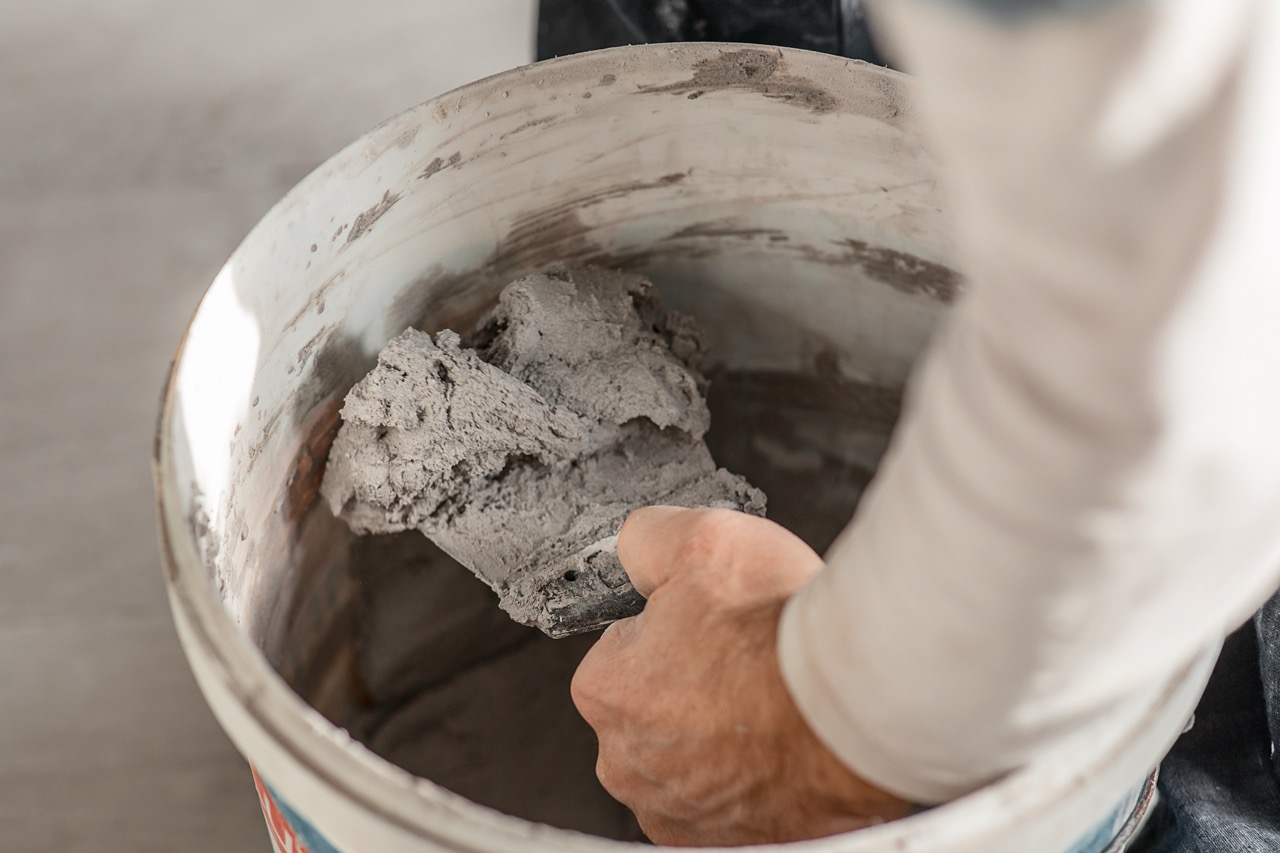
It’s also worth checking the condition of your grout. If there are cracks or missing sections, a grout pen won’t solve the underlying problem. Patch damaged areas with fresh grout first, and once cured, you can proceed with the pen for consistent color and coverage. Taking these extra steps ensures your backsplash refresh lasts longer and looks like it was professionally done.
Step-by-Step Guide to Applying Grout Pens Correctly
Start by shaking the grout pen well to mix the pigment inside. Test it on a piece of scrap cardboard or paper towel to ensure the color flows evenly. When you’re ready, hold the pen like a marker and gently apply it along each grout line, working in small sections. Apply consistent pressure without flooding the grout line to avoid smudging onto the tiles.
If some ink gets onto the tile surface, don’t panic—simply wipe it off immediately with a damp cloth. Work methodically from one side of your backsplash to the other, rather than skipping around, so you can keep track of which areas are finished. Going slowly will result in a more accurate application and less touch-up later.
After applying, allow the grout pen to dry as instructed by the manufacturer, usually within 30 minutes to an hour. Some pens may suggest a second coat for deeper coverage, especially if your grout was very dark or stained. Once your work is complete, step back and admire the refreshed lines—you’ll see an instant difference in how crisp and clean your backsplash looks.
Tips to Maintain a Fresh, Clean Look That Lasts
Now that your grout looks fresh, you’ll want to keep it that way. The simplest maintenance habit is regular wiping of the backsplash after cooking to prevent grease and food from setting into the lines. Using a mild kitchen cleaner on a microfiber cloth will keep both tiles and grout looking their best.
Avoid abrasive cleaners or harsh scrubbing pads that could wear down the grout pen finish prematurely. Instead, opt for gentle brushes or non-abrasive sponges. If you notice slight fading over time, don’t be discouraged—a quick touch-up with the same pen is far easier than starting from scratch, and it will instantly rejuvenate any dull spots.
It’s also helpful to store an extra grout pen in the same color for future touch-ups. Since they’re affordable and small, keeping one on hand allows you to freshen up your backsplash whenever needed. With minimal effort, you can extend the life of your grout pen finish and enjoy a bright, polished kitchen for months or even years to come.
Refreshing grout doesn’t have to be daunting or expensive. With grout pens, even the most well-loved kitchen can get a face-lift in just a few hours, without specialized tools or professional help. By preparing your tiles properly, applying the pens carefully, and maintaining the finish with simple cleaning routines, you can keep your backsplash looking stylish and fresh with very little effort. Whether you’re a renter wanting a quick spruce-up or a homeowner aiming for a low-cost update, grout pens are one of the easiest DIY tricks to make a big difference.