When you’re preparing a home for staging, every detail matters—but you don’t always have the time, budget, or energy for a full renovation. One of the quickest ways to make a tired-looking kitchen or bathroom sparkle again is by refreshing the grout. Instead of scrubbing endlessly or regrouting entirely, grout pens offer a clever shortcut. These handy tools revive old grout lines, giving your tiles a fresh, clean, and polished look that immediately boosts appeal for potential buyers.
Why Grout Pens Are a Secret Weapon in Home Staging
First impressions make a big difference when a potential buyer steps into a home. Clean, bright tiles in a bathroom or kitchen subtly convey that a property is well-kept and move-in ready. Unfortunately, discolored or stained grout can give the opposite impression, even if the space is otherwise spotless. Grout pens act as a quick rescue—covering up those darkened lines instantly and restoring a “like-new” finish without expensive remodeling.
For sellers working on a budget, grout pens can be a real money-saver. Rather than paying for costly tile replacement or professional regrouting, a grout pen refresh can be completed within a few hours. This low-cost upgrade delivers high visual impact, which is exactly what staging is all about: creating the best possible presentation with minimal investment.
Additionally, buyers often focus on areas like bathrooms and kitchens because these spaces are both high-use and costly to renovate. Making these rooms shine with just a few strokes of a pen ensures your staged property appeals to a wider audience without heavy spending.
Choosing the Right Grout Pen for Your Tile Surfaces
Not all grout pens are created equal, and choosing the right one ensures lasting results. The first factor to consider is color. White is the classic choice for brightening grout, but beige, gray, and even darker shades are widely available, making it possible to either match your existing grout or create a subtle contrast that highlights the tile pattern.
Next, think about durability. Some grout pens are water-resistant, making them more suited for high-moisture areas like showers and kitchen backsplashes. Checking product descriptions for waterproof or mold-resistant claims ensures you’ll have a finish that lasts longer in demanding spaces.
Lastly, the tip size matters. A fine-point pen is excellent for narrow grout lines or precision touch-ups, while a thicker nib covers wider grout more efficiently. Matching pen size to your tile layout will save time and provide a cleaner, more professional finish.
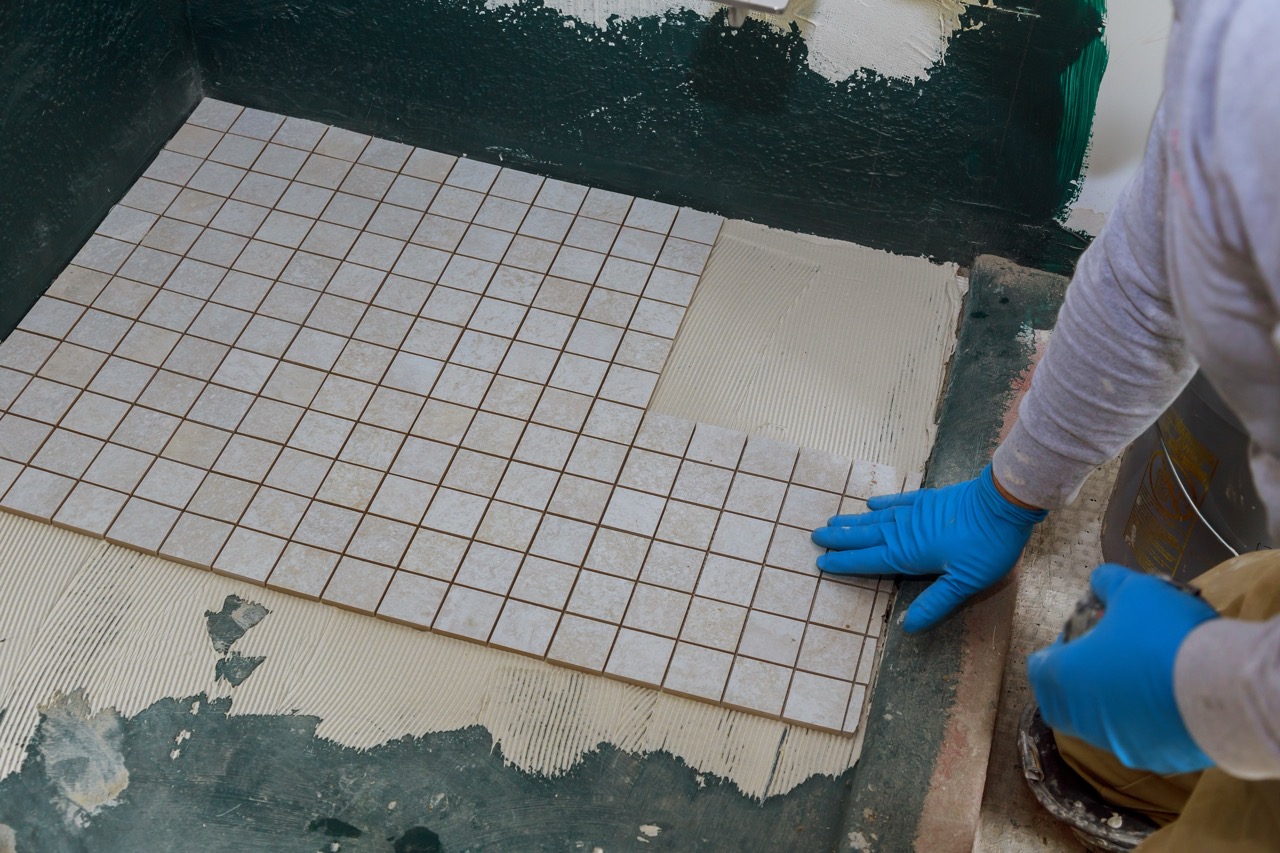
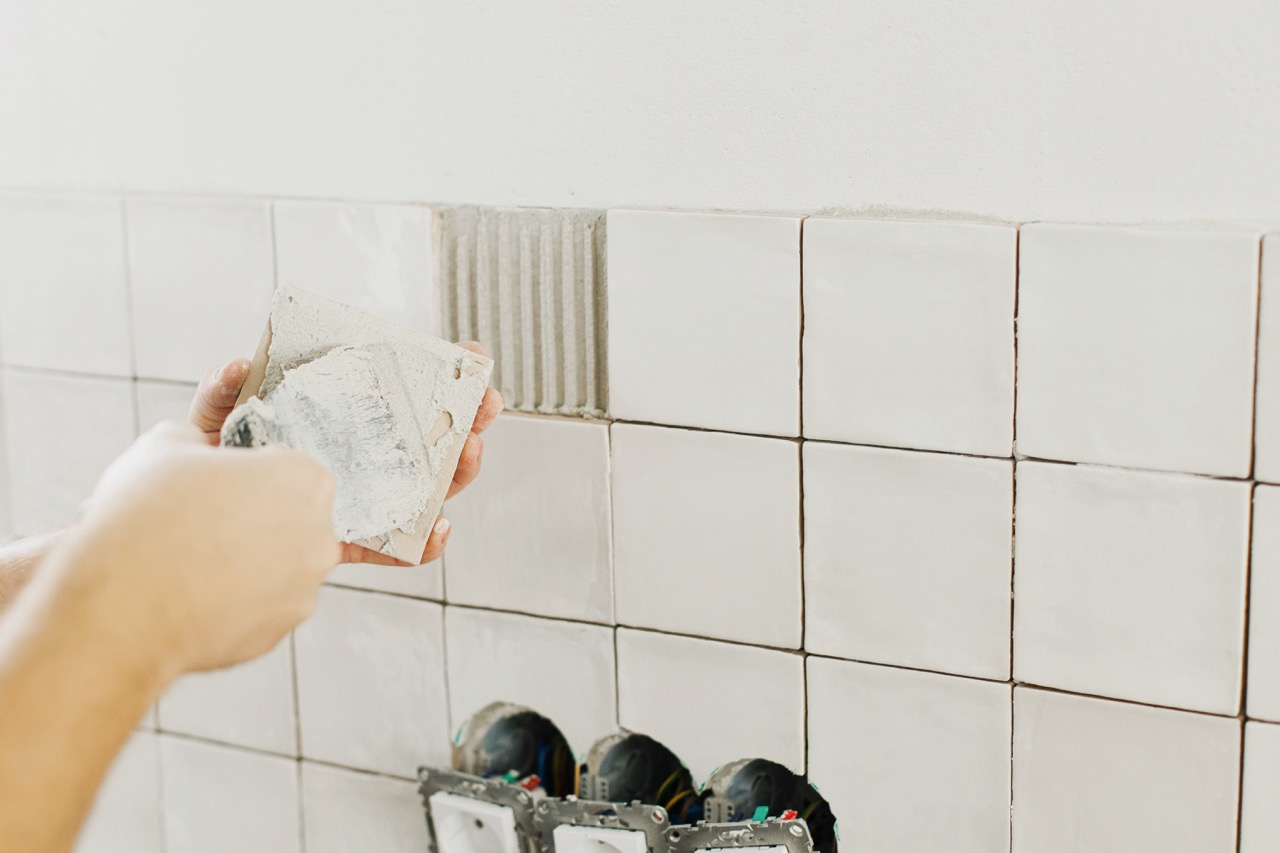
Simple Step-by-Step Guide to Applying Grout Pens
Step one is preparation, which is key for good results. Start by thoroughly cleaning your tiles and grout lines using a mild cleaner or grout-specific solution. Make sure all dirt, soap scum, and grease are removed so the pen’s pigment can adhere properly. Allow the area to dry completely before applying the grout pen.
Next, shake the pen well to mix the pigment, then test it on a small, less visible area of grout to ensure the color is right. Press the nib down gently to start the flow of ink, and begin tracing along your grout lines with steady movements. Wipe away any excess that may touch the tile surface before it dries to avoid creating smudges.
After completing an area, let the grout pen lines dry fully—usually a few hours, depending on the product. If needed, a second coat can be applied for darker stains or to achieve the perfect opacity. After the final coat dries, lightly wipe the tiles again to remove any haze.
Pro Tips to Keep Your Tiles Looking Fresh for Longer
Maintaining the fresh look doesn’t stop once you’ve finished using the grout pen. To prolong results, clean your tiled areas regularly with mild, non-abrasive cleaners that won’t strip away the pigment. Avoid harsh chemicals like bleach, which may weaken the finish over time.
For high-use areas, consider resealing your grout after the pen application. A grout sealer provides a protective layer against moisture, stains, and mildew, helping your refreshed lines stay bright for longer. This extra step is particularly helpful in shower enclosures or heavily splashed kitchen backsplashes.
Another tip is to keep a spare grout pen on hand for quick touch-ups. Life happens—small scuffs, accidental spills, or natural wear will occur. With a pen ready, you can quickly restore any fading lines and maintain that freshly staged look without needing a major project down the road.
Staging a home doesn’t always require dramatic upgrades—a few clever, low-cost updates can make all the difference. Grout pens are a simple yet highly effective tool for transforming kitchens and bathrooms, helping potential buyers see a clean, well-maintained property. Whether you’re listing your home or just want to elevate your everyday space, this DIY-friendly solution delivers fast, satisfying results. With the right pen and a few easy steps, you can refresh your tiles in an afternoon—and enjoy the polished finish for months to come.