If your tiles are looking a little tired but you’re not ready—or able—to take on a complete renovation, grout pens are one of the simplest and most cost-effective solutions available. These handy tools let you recolor and refresh old grout in minutes, instantly transforming the look of floors, walls, kitchens, and bathrooms. Best of all, they require no special skills or expensive equipment, making them a great option for both homeowners and renters who want an easy DIY update without breaking the bank.
Transform Dull Tiles Quickly with Affordable Grout Pens
One of the biggest frustrations with tile surfaces is that, over time, the grout in between can become discolored or dingy, even if the tiles themselves are still in good shape. Replacing grout can be messy, time-consuming, and expensive, but grout pens provide a smart shortcut. With just a few strokes, you can restore the grout to a fresh, clean look that instantly brightens the entire space.
What makes grout pens especially attractive is their affordability. For just a few dollars, one pen can cover several square feet of grout, making it an accessible option for those working with a tight budget. Compared to a full regrouting or tile replacement project, the savings are substantial, and the results are often surprisingly effective.
Even more appealing, grout pens come in a variety of colors, from classic white to trendy grey and even bold tones. This means you’re not only refreshing your space—you also have the opportunity to reimagine it. Switching from a light grout to a darker shade, for example, can add striking contrast and give your tiles a more modern appearance without the investment of new materials.
Why Grout Pens Are the Secret Tool for DIY Tile Updates
Grout pens are often overlooked in favor of bigger renovation tools, but their true power lies in how effortless they make home improvement for everyday DIYers. Unlike grout replacement, which can involve dust, tools, and significant cleanup, grout pens work just like a simple marker. You literally draw over old grout, allowing anyone—even complete beginners—to see professional-looking results almost instantly.
Another reason grout pens stand out is their versatility. They can be used on bathroom walls, kitchen splashbacks, floor tiles, or even tiled entryways. The ability to refresh an entire space without tearing out existing tiles makes them particularly useful for renters, who often need reversible updates that won’t damage the property. Many pens are water-resistant once dried, offering extra durability in damp environments.
In terms of time-saving, grout pens are hard to beat. A project that might otherwise stretch across a weekend shrinks down to a few hours. Imagine giving your bathroom or kitchen a facelift in a single evening after work. It’s this combination of ease, affordability, and results that continues to make grout pens a go-to trick in the toolbox of savvy DIY renovators.
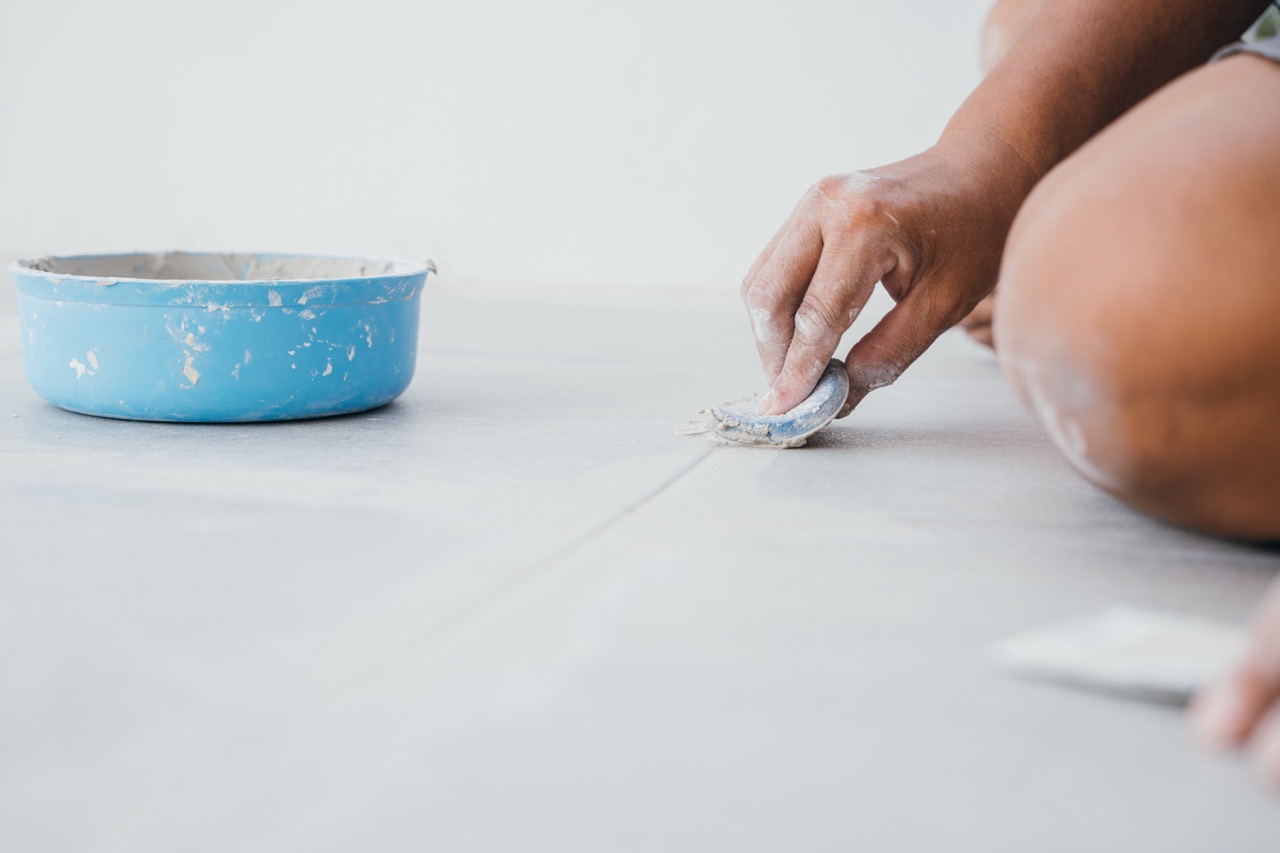
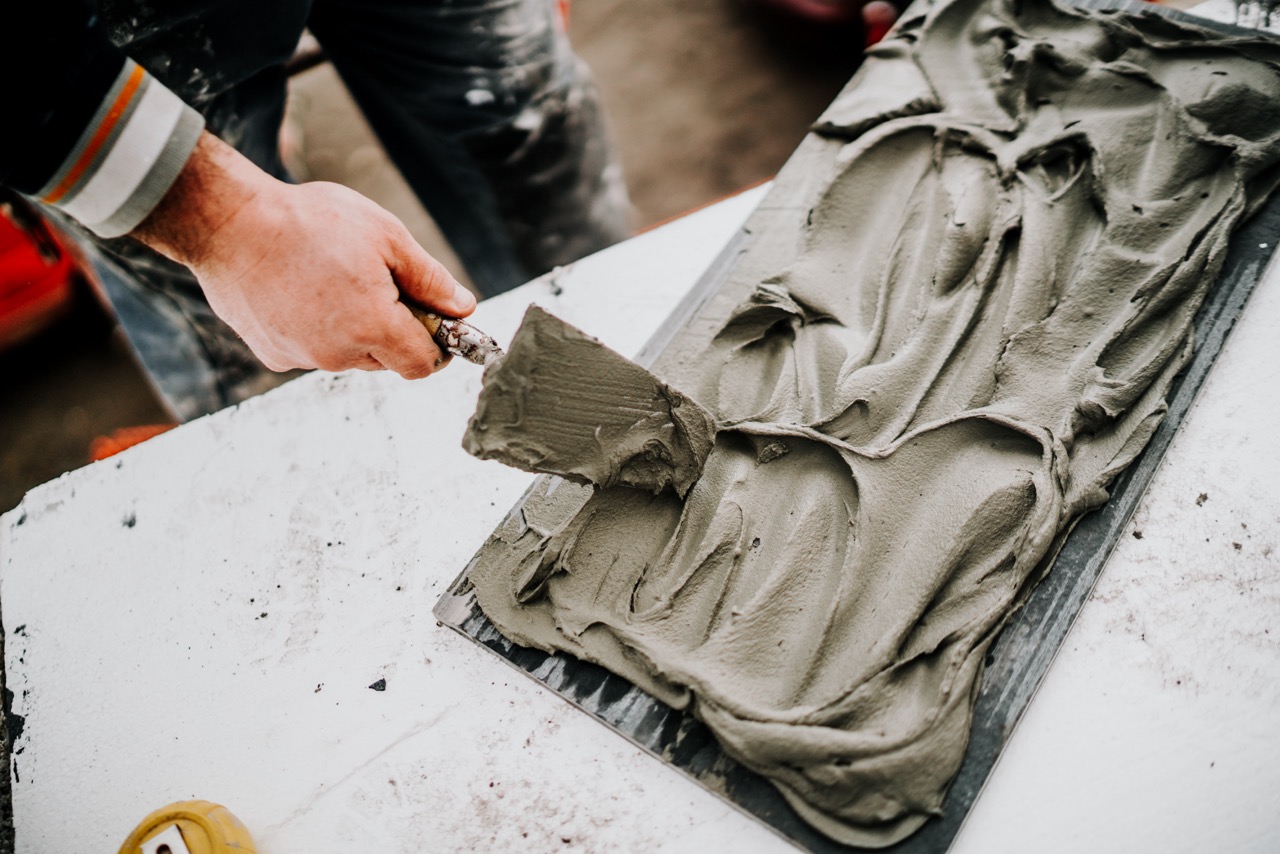
Step-by-Step Guide to Applying Grout Pens Like a Pro
To get the best results from grout pens, a little preparation goes a long way. Start by cleaning the tiled area thoroughly, removing dirt, soap scum, or mildew with a gentle tile-safe cleaner. Dry the surface completely before beginning the application. A clean base ensures that the pen’s ink will adhere smoothly and last longer.
Once the surface is ready, shake the grout pen well and press the nib down until the ink begins to flow. Then, carefully trace along the grout lines using even pressure. Don’t worry if you go over the edges—any excess ink on tiles can generally be wiped away with a damp cloth before it dries. Work in small sections so that the application stays neat and manageable.
After completing the first coat, allow it to dry fully, usually for one to two hours, depending on the product. For deeper color coverage or extra durability, apply a second coat. Once finished, step back and admire the transformation—your tiles will look refreshed, polished, and revitalized, almost as if they’d just been newly installed.
Budget-Friendly Tips to Keep Your Tile Refresh Lasting Longer
While grout pens provide an affordable fix, taking a few extra steps can extend the life of your refreshed grout lines. One practical strategy is to apply a grout sealer over the recolored lines once the pen has dried completely. This extra layer acts as a shield against dirt, stains, and everyday wear, helping your project stay fresh for months or even years.
Regular maintenance also goes a long way. Wiping down tiled surfaces weekly with a mild cleaner and avoiding harsh scrubbing tools will protect both the grout and tile finish. For bathrooms, good ventilation helps reduce moisture buildup, which can lead to discoloration. These small habits add up to a cleaner, brighter tile surface that requires fewer touch-ups.
Finally, keep a spare grout pen on hand for quick fixes. Because they’re inexpensive and easy to store, having one ready means you can immediately touch up any spots that start to fade. This proactive approach helps you maintain that “just refreshed” look while keeping your budget firmly in check.
Updating your tiles doesn’t have to mean a full renovation or a hefty expense. With grout pens, you have a simple, budget-friendly solution right at your fingertips. In just a short time, you can revitalize your kitchen, bathroom, or floors with minimal mess and maximum impact. Whether you’re a renter looking for a non-permanent upgrade or a homeowner seeking a fast DIY win, grout pens are the little tool that makes a big difference. So grab a pen, refresh those grout lines, and enjoy a brighter, cleaner space without the renovation stress.