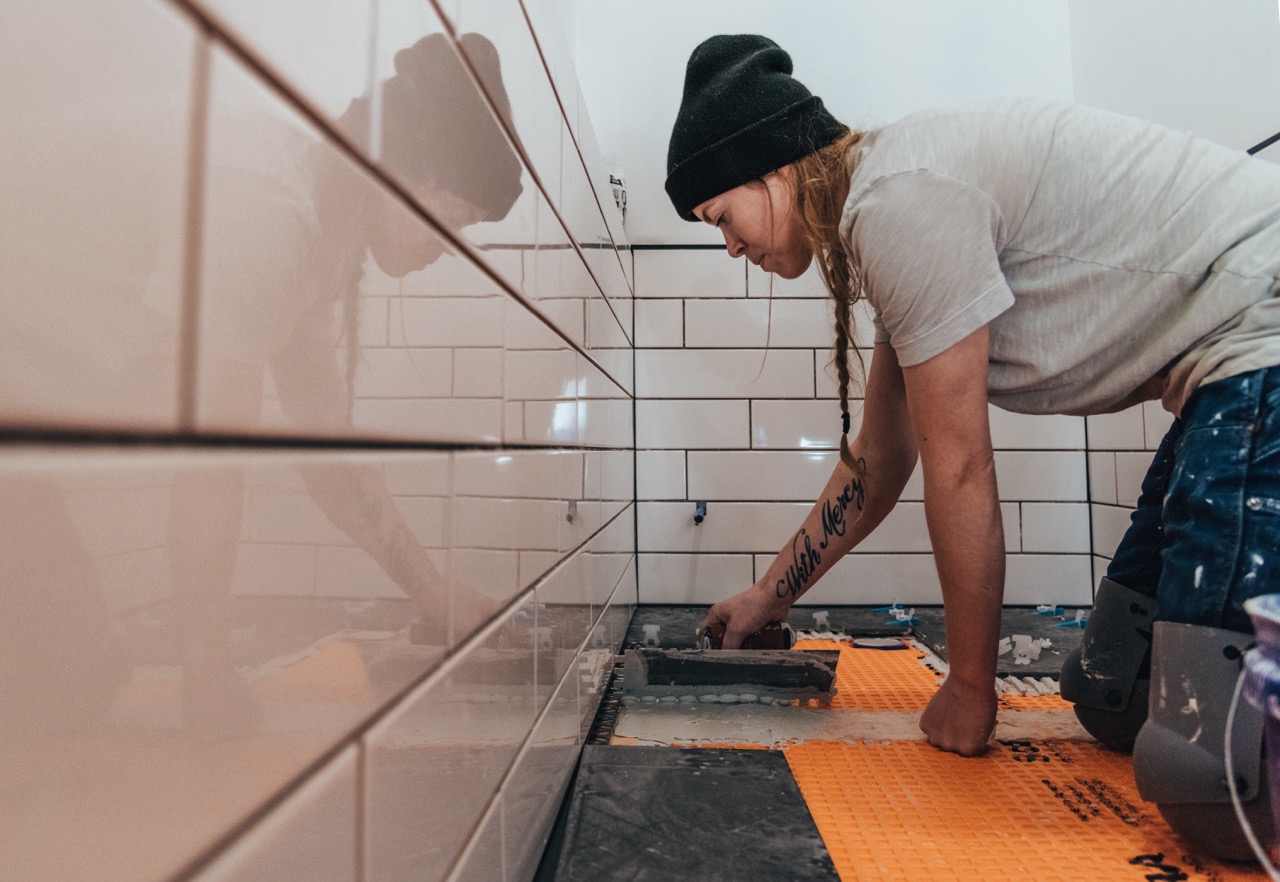
If your tiles are looking a little dull or discolored but you’re not ready to take on a major renovation, grout pens can be a smart and affordable solution. With just a few strokes, these handy tools can refresh grout lines, giving your bathroom, kitchen, or entryway a clean and polished appearance. One of the most common questions people ask before starting is: how much coverage can you actually expect from a single grout pen? The answer depends on a few key factors, from the size of your space to how you apply it. Let’s take a closer look at what you should know before getting started.
Understanding What a Single Grout Pen Can Cover
A typical grout pen is designed to cover anywhere from 50 to 150 feet of grout lines, depending on the brand and the nib size. Smaller pens usually handle touch-ups in compact areas like backsplashes or shower stalls, while larger pens are built for longer runs in kitchens or tiled floors. This means that a single pen may be ideal for refreshing a small room, but if you’re tackling a whole bathroom or multiple spaces, you’ll likely need more than one.
The actual coverage is determined not by the area of the tiles themselves, but by the length of the grout lines. For example, a wall covered in smaller tiles will have more grout lines than one with large tiles, so you’ll end up using more ink to cover the same square footage. A backsplash of tiny mosaic tiles might require multiple pens, while a floor with large square tiles might only need one.
Manufacturers often list approximate coverage on their packaging, but it’s wise to add a little extra to your budget. Grout pens are relatively inexpensive, so having a backup or two can prevent delays if you run out mid-project. Homeowners who try grout pens for the first time are often surprised at how quickly the lines soak up the color, which makes advance planning especially useful.
Factors That Affect Tile Coverage and Pen Longevity
One major factor is porosity and cleanliness of the grout. Fresh, unsealed, or porous grout absorbs more ink, causing the pen to deplete faster. In contrast, grout that’s well-sealed or previously refreshed may take less effort to recolor. This is why a proper cleaning before you begin is critical—not only does it help with adhesion, but it also prevents overusing ink where it’s not needed.
Another variable is the color difference between your old grout and the pen shade you choose. For example, switching from dark gray grout to white may require multiple passes, which effectively cuts your coverage in half. On the other hand, touching up white grout with a white pen often requires just a single coat. The more drastic the change, the more you’ll need from each pen.
Lastly, your technique matters. Applying steady, thin strokes and allowing the ink to dry before going over the same spot helps conserve the nib and the ink. Pressing too hard or “scribbling” to force color into grout lines wears down the pen faster. A mindful, patient approach usually means better results and longer pen life.
Tips to Maximize Coverage and Avoid Wasting Ink
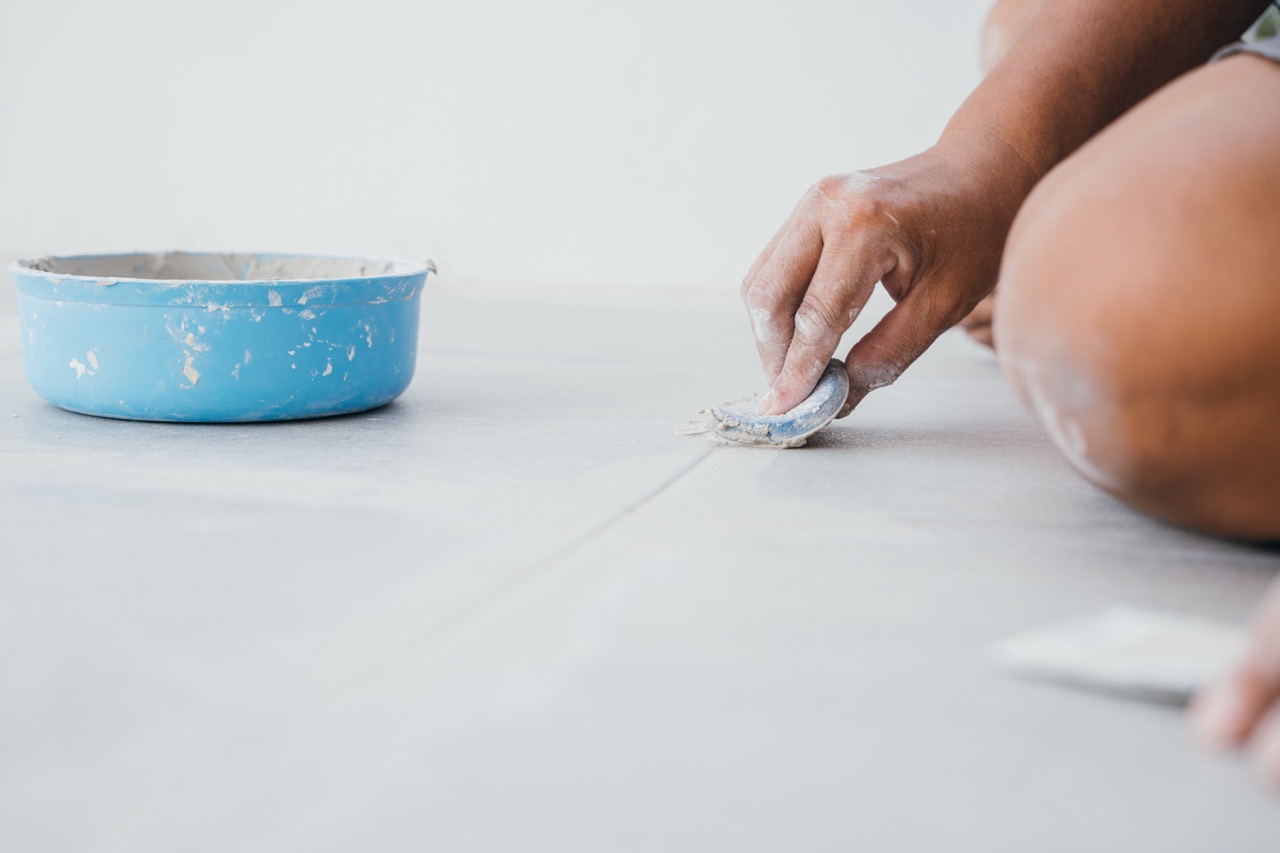
Before you even open the pen, make sure the grout lines are completely clean and dry. Dirt, mold, or soap scum not only prevents proper adhesion but also forces the pen to release more ink to achieve decent coverage. A quick scrub with baking soda and water or a grout cleaner goes a long way in making your pen last.
When applying, work in small, manageable sections instead of trying to color all grout lines at once. This allows you to pace yourself and avoid oversaturating areas that don’t need heavy coverage. It also helps you spot-check your work before moving on, which prevents using extra layers unnecessarily.
Finally, consider rotating the tip of the pen as you work. This keeps the nib from wearing down prematurely on just one side, prolonging its life. If the pen dries up, cap it tightly and store it nib-side down to rehydrate the ink. These little habits can stretch the coverage considerably, saving you from opening a new pen before it’s truly needed.
Real-Life Examples of Grout Pen Use in Homes
In small spaces like kitchen backsplashes, many homeowners report that a single pen is often enough to brighten the entire area. Because backsplashes don’t usually cover large square footage, one pen can typically refresh the grout lines around countertops and stoves without running dry.
For bathroom projects, the results vary. A half-bath with only a small amount of floor tiling may only need one pen, but a full bath with shower walls, tub surrounds, and tiled flooring often takes two or three pens. It largely depends on whether you’re refreshing grout throughout the whole space or just spot-treating problem areas.
On larger tiled floors, such as those in entryways or kitchens, you may want to have at least three pens on hand. Even though larger tiles require fewer grout lines, these high-traffic areas tend to show more dirt and discoloration, which means you’ll likely want to go over the lines more than once for a lasting finish. Homeowners who planned ahead with multiple pens often finished in a single weekend, while those with just one found themselves waiting for extra supplies.
Grout pens may be small, but with the right preparation and technique, one can go further than you might expect. Depending on the project size, a single pen can refresh anything from a small backsplash to an average bathroom floor, making it one of the easiest DIY updates you can do. If you want bright, clean grout without the hassle of re-grouting or hiring a pro, having a few grout pens on hand is a smart move. With just a bit of planning, you’ll be surprised at how far one pen can take you in transforming your space.