When grout starts to look dingy, many people assume the only way to restore it is through intensive scrubbing or a professional re-grouting job. Thankfully, grout pens offer a much easier and budget-friendly solution—they can instantly refresh the look of tiled surfaces without heavy labor. However, understanding how these pens interact with common tile cleaners is important to make sure the results last. Using cleaners before or after applying a grout pen requires a bit of care, and with the right approach, you can achieve crisp, bright grout lines safely.
Understanding How Grout Pens React to Cleaners
Grout pens work by applying a thin, colored, water-resistant coating over grout lines. While they’re designed to be durable in everyday kitchen and bathroom environments, harsh or abrasive cleaners can strip away this coating over time. Acidic cleaners (such as vinegar-based solutions) may weaken the pigment, while bleach-heavy cleaners might cause discoloration or patchiness.
It’s also worth noting that freshly applied grout pen coatings need time to fully dry and cure. If you clean the surface with strong chemicals too soon, the coating may not bond well and could peel off. This is why patience is a key part of using grout pens effectively—understanding that they’re less robust than actual grout, but still highly effective when treated properly.
Some household cleaners are perfectly safe to use after curing, especially neutral-pH formulas that gently lift dirt without breaking down coatings. This makes it possible to keep tiles looking pristine without constantly reapplying pen lines. By choosing the right cleaning routine, a grout pen can hold up well in everyday conditions.
Choosing Tile Cleaners That Won’t Damage Fresh Grout
When selecting a tile cleaner, the most important rule is to avoid highly acidic or bleach-based options right after using a grout pen. Instead, look for mild surface cleaners labeled “pH neutral.” These solutions clean effectively without breaking down the protective layer of ink or paint provided by the pen.
For kitchens and bathrooms, an all-purpose mild spray or a mixture of warm water with a few drops of gentle dish soap works well for regular upkeep. These won’t compromise pen coatings and can be safely used as often as needed. For tougher stains, a baking soda paste provides a safe alternative to bleach scrubs, giving you cleaning power without the risk of stripping away the pen’s finish.
If you prefer pre-made products, many brands now offer “safe for stone and grout” cleaners, which tend to be low on abrasives and chemicals that could erode either natural grout or pen coatings. Investing in these specialized cleaners can keep both your tiles and grout pen lines in great shape for longer.
Safe Steps for Cleaning Before and After Using a Pen
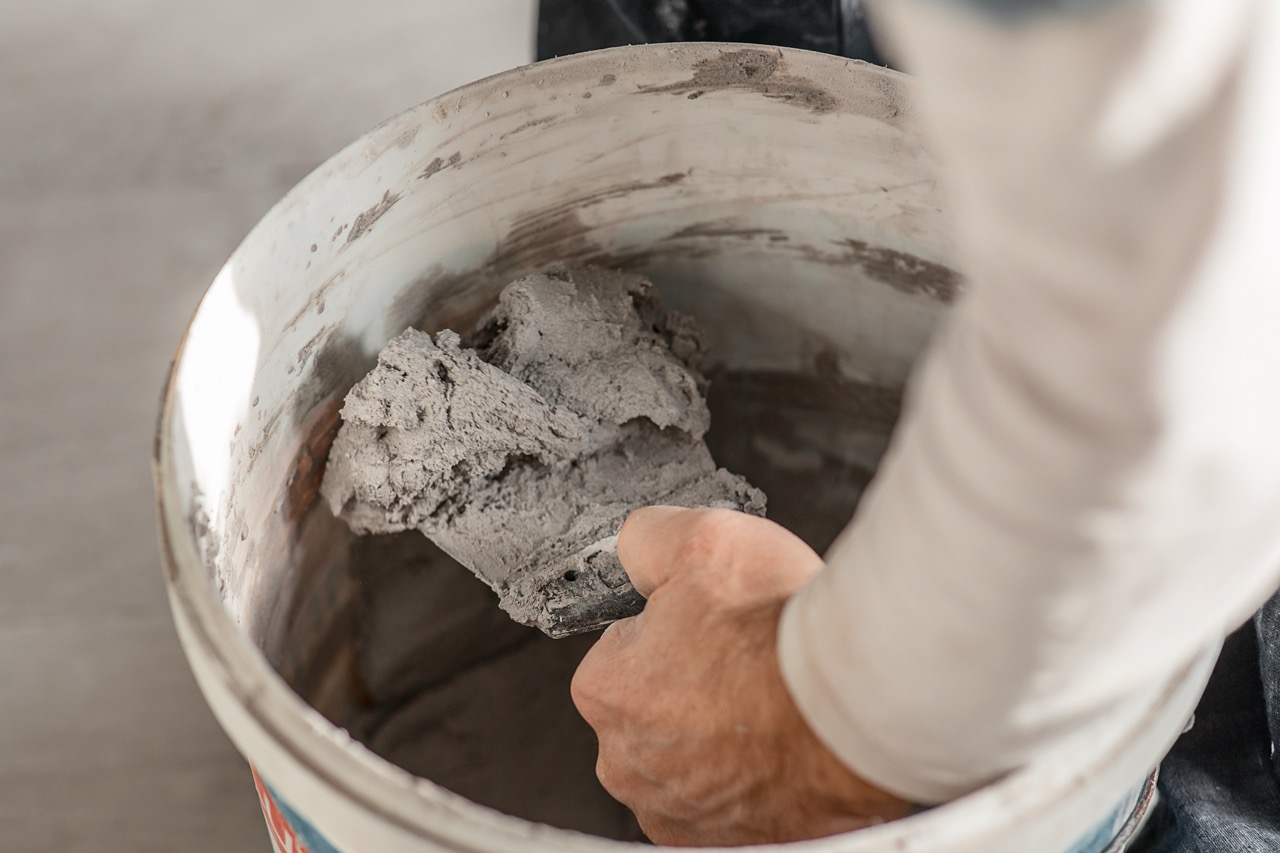
Proper prep is essential before applying a grout pen. Start by wiping down the tiles with a gentle cleaner and warm water, and be sure to remove any residue, mold, or soap scum from the grout lines. Once the surface is clean, let it dry thoroughly. Applying a grout pen to damp or dirty grout won’t give you lasting results because the coating won’t adhere properly.
After application, try to avoid cleaning with liquids for at least 24 hours—check your grout pen brand’s instructions, as curing times may vary. This drying step ensures the pen coating bonds firmly to the grout surface. If you need to wipe down tiles during this time, stick to a dry microfiber cloth instead of sprays or water.
Once cured, implement a gentle cleaning routine. Use a soft sponge or microfiber cloth with a neutral cleaner, and avoid scrubbing directly on pen-coated grout lines with harsh brushes. By following these steps, you’ll preserve your grout pen work and save yourself from having to reapply too often.
Practical Tips to Keep Grout Lines Bright and Durable
One smart way to extend the life of grout pens is to handle spills and splashes quickly. If oils, sauces, or shampoos are allowed to settle in, they can stain—even through the protective layer of a grout pen. Wiping surfaces promptly reduces long-term build-up and makes deep cleaning easier.
It also helps to avoid stained tools when cleaning. For instance, colored sponges or old cloths sometimes transfer tiny amounts of dye, which can leave unwanted marks on white or light grout lines. Always reach for clean, non-abrasive materials, especially when wiping directly along grout lines.
Finally, consider applying a clear sealant over the grout after the pen coating has fully cured. Some grout pens already provide a degree of sealing, but an extra protective layer can drastically extend durability in high-traffic areas. This is especially useful in showers or kitchen backsplashes where water and stains are frequent.
Grout pens are a simple, affordable way to refresh tile surfaces without the cost and effort of re-grouting. When paired with the right cleaners and careful maintenance, they can keep your grout lines looking neat and professional for months—even years. The key is avoiding overly harsh products, allowing for proper curing, and adopting gentle cleaning habits. By following these safe, practical steps, you’ll get the most out of your grout pens and enjoy a brighter, cleaner home with minimal fuss.