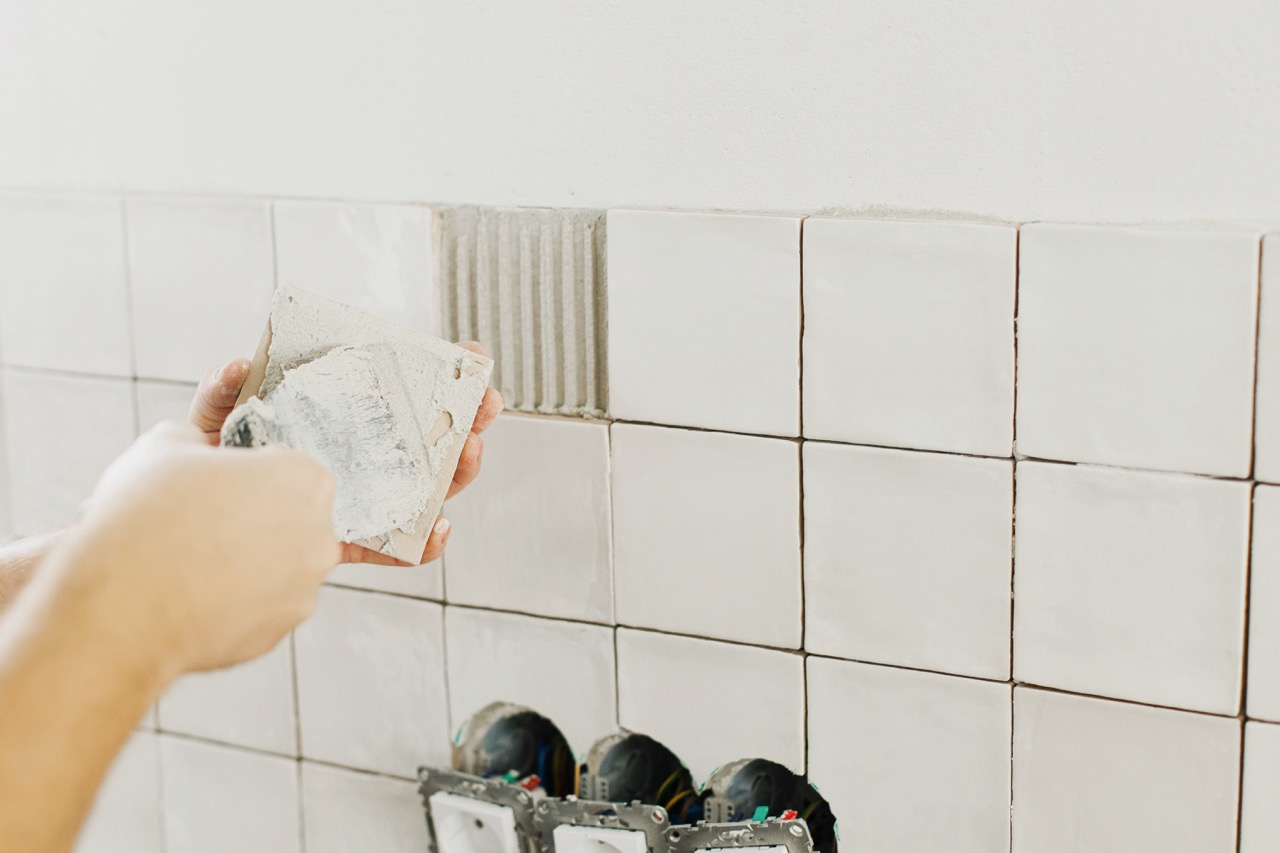
If your bathroom tiles are looking a little tired and worn out, you don’t always need a full renovation to give them new life. In fact, one of the simplest and most affordable tricks is using a grout pen. This handy DIY tool lets you refresh discolored grout lines in minutes, instantly brightening up the entire space. Whether you rent and want a temporary solution or own and prefer a budget-friendly refresh, grout pens make it easy to give your bathroom tiles that “just-installed” look without the mess of regrouting.
Why a Grout Pen Is the Easiest Tile Upgrade Trick
A grout pen is designed to work like a marker, only instead of ink it dispenses grout colorant that bonds over existing grout lines. This makes it one of the easiest DIY tools for cosmetic tile upgrades. No need for complicated mixing, messy re-grouting, or expensive professional labor—just a steady hand and a little time.
The biggest advantage of grout pens is the instant transformation they can bring. Yellowed or stained grout is often what makes a bathroom look dingy, even if the tiles themselves are still in great shape. With a pen, you can restore clean, crisp lines that make the entire wall or floor feel fresher. Most people are surprised by how big a difference these small details make.
Grout pens also come in a wide variety of shades, from classic white to darker tones like grey or black. This means you have flexibility: match your existing grout color for a subtle fix or choose a contrasting shade to create a bold, modern look. Either way, it’s one of the quickest bathroom upgrades you can do in under an afternoon.
Preparing Your Bathroom Tiles for a Smooth Finish
Before you start drawing over the grout, it’s essential to prep your tiles properly. Grout pens work best on clean, dry surfaces. If dirt, soap scum, or residue is left behind, the new grout colorant won’t adhere as well and may peel off over time. Start by giving your tiles a good scrub with a bathroom-safe cleaner or a vinegar-and-water solution.
Next, allow the grout lines to dry completely. Moisture trapped beneath a fresh coat of grout pen ink can shorten its lifespan or cause uneven results. If you recently cleaned, wait a few hours before starting. For stubborn mold or mildew, treat problem spots with a mold remover spray so you can lock in a long-lasting finish once the grout pen is applied.
Finally, inspect the grout for cracks or missing chunks. Grout pens are meant for cosmetic touch-ups, not for repairing damaged grout. If you notice crumbling grout, consider patching or regrouting those sections before using a pen. This ensures a strong base, so your grout pen applies smoothly and looks professional once finished.
Step-by-Step Guide to Applying a Grout Pen Neatly
Using a grout pen is simple, but for the best results, a little technique goes a long way. Start by shaking the pen well, then press the tip down onto a scrap surface until the colorant flows evenly. This primes the nib so you don’t end up with streaky lines when you begin.
Work in small sections, carefully drawing over each grout line. It’s normal for the pen tip to flatten slightly after a bit of use, so keep the strokes steady and consistent. If any colorant accidentally gets on your tiles, don’t panic—just wipe it away with a damp cloth before it dries. This makes cleanup simple and prevents smudge marks.
For a strong, even finish, let the first coat of grout pen dry completely before applying a second. Most bathrooms only need one coat, but in areas with very dark stains, two coats can make the grout lines look crisp and brand new. Take your time and step back occasionally to make sure everything looks even.
Tips to Make Your Freshly Grouted Tiles Last Longer
A grout pen can instantly refresh your bathroom, but a few extra steps will help that fresh look last. First, let the grout pen lines cure fully before showering or cleaning the space. Depending on the product, this could mean waiting 24 hours. This curing time allows the ink to bond properly and resist wear.
Second, avoid using harsh cleaners directly on your grout lines. Instead, choose gentle pH-balanced products or mild soap and water. Abrasive scrubbing and strong chemicals may strip away the pen’s color over time. By switching to softer cleaners, you extend the life of your grout refresh.
Finally, keep your bathroom properly ventilated. High humidity and poor airflow can contribute to mold or mildew buildup, which may dull your grout pen finish. Running an exhaust fan or occasionally airing out the room helps preserve that clean, crisp look much longer. With these simple habits, your tiles will stay looking new for months—even years.
Refreshing your bathroom tiles doesn’t have to mean messy renovations or expensive upgrades. A grout pen is a budget-friendly, beginner-friendly solution that instantly brightens grout lines and makes your entire space feel fresh. With the right preparation, neat application, and a little maintenance, you can enjoy professional-looking results without the professional price tag. Next time you feel your bathroom needs a pick-me-up, reach for a grout pen—and watch your tiles come back to life with just a few strokes.
